What’s For Dessert Strawberry Ricotta Cheesecake

It sure is a pretty looking dessert
Let’s see how close a no bake cheesecake can get to the real deal
Difficulty: 2/5:
Ingredient Availability: 5/5
Time: 2 Hours 40 Minutes (over 2 Days)
One thing you should know about me is I love cheesecake. It’s my favorite dessert and I’ve never had a truly bad one. My go to place for cheesecake is the infamous Cheesecake Factory, where cheesecake is the only thing you should order. As far as the inspiration for choosing this recipe goes, it has sort of become a tradition for me to have some cheesecake for my birthday and it’s that time of the year. I had never made cheesecake before and I didn’t really feel like going through the full blown cheesecake for the first time. On top of that, Claire Saffitz hasn’t disappointed me, so far.
Key Ingredients and Omissions:

Filling Ingredients
Make Sure to use whole milk Ricotta

Crust Ingredients
Typical graham cracker crust, I recommend crushing the crackers pretty fine
Nothing was left out of this recipe. I’m not sure that anything really could be left out except for maybe the topping.
Just as with milk, whole milk cheeses are just better. Be sure to get a whole milk ricotta for this recipe. The same goes for the cream cheese. I’m a firm believer that if you’re avoiding sugars and fat, just don’t eat things that, if made correctly, include large amounts of fat and sugar. Never try to substitute sugar free or low fat versions of foods unless you’re happy with mediocre.
Tools:
Spring Form pan
Cheesecloth
Cooking Review:
Ricotta Mixture: 15 Minutes
Once I had everything measured out, prepared, and in the bowl, it only took me 2 or 3 minutes to blend this mixture to a very smooth state using a hand blender.

Making the filling: 8 Minutes (not including the 6 minutes preparing)
Mixing the heavy cream and the cream cheese was very quick. It took about a minute of mixing with the hand blender. Instead of using a block of cream cheese, I used an 8oz tub and just scooped it into the heavy cream. After that step was complete, I used a hand mixer to combine the ricotta mixture into the cream cheese mixture. After the two had been homogenous, I then increased the mixing speed to make the mixture thick. While the recipe said about 30 more seconds to make the mixture thick enough to hold its shape, it took me 3 or 4 minutes to get to that state. Once the thickness had been achieved, I transferred the filling into a cheesecloth lined mesh sieve and weighed it down with a plate and a couple of jars to drain overnight.


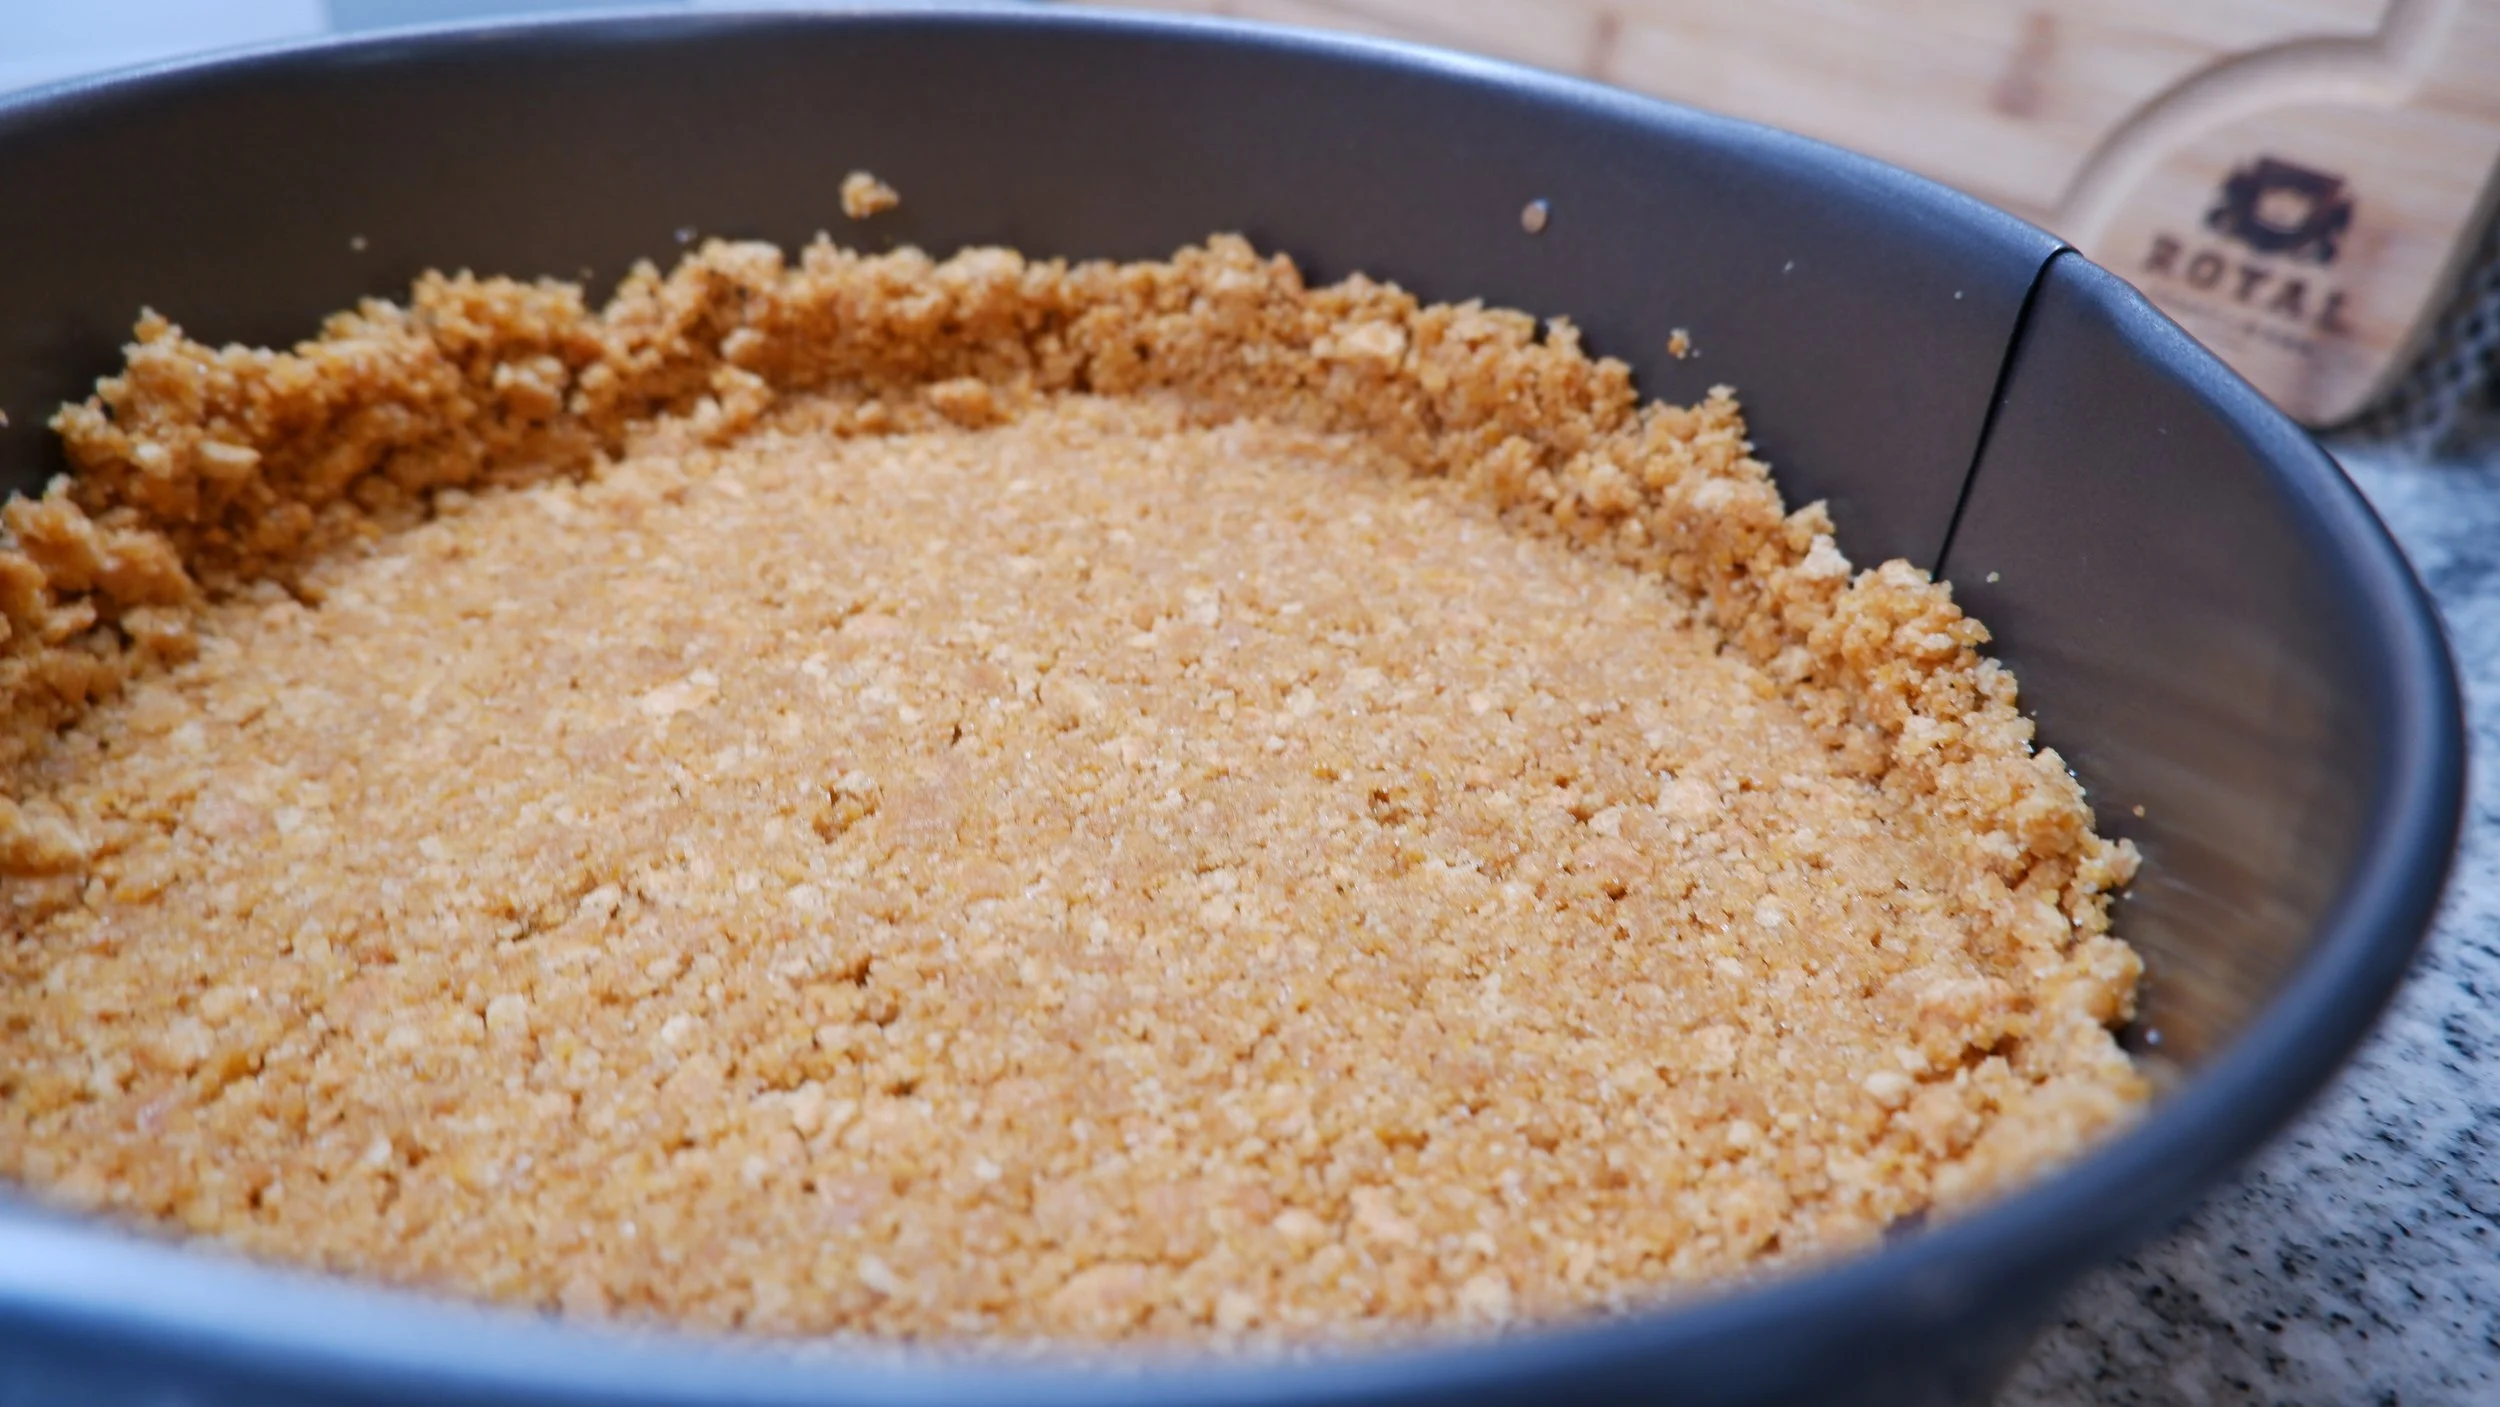
Making the Crust: 50 minutes
I used a plastic bag and rolling pin to crush the graham crackers. For this crust, I think that a finer crumb makes it easier to work with and sturdier. With that being said, I wish that I had either used my food processor to crush the crackers or just spent more time making them finer. Mixing the crust ingredients was straight forward and when I used my hands to get to a wet sand consistency, I tried to crush as many of the bigger pieces between my fingers as I could. This still wasn’t enough, as when I went to fill the bottom of the pan, especially up the sides of the pan, the crust was pretty crumbly. I was having a hard time getting the crust up the sides of the pan without just falling apart at a certain height, so I had to compromise at a lower height, as you can see in the pictures. The bottom was easier to work with as gravity was on my side. Once I got the pan filled with the crust, I baked it for 18 minutes before letting it cool.


Making the topping: 1 hr 20 minutes
While the crust was baking, I started working on the topping. After slicing the strawberries, I added the sugar and put them on a double boiler, mixing occasionally. I then prepared the gelatin, letting it set up in some water before melting it in a saucepan and adding it to the macerated strawberries. From there, I just let it cool in the refrigerator for 30 minutes, stirring every 10 minutes or so.


Filling Crust and Topping: 6 minutes
After everything had cooled off sufficiently, I scooped out the drained filling into the crust and smoothed it out as best I could with the back of a spoon. The topping was then spooned on top of the filling before I put in the refrigerator over night.

The Filling After Being Drained
Analysis:
I didn’t taste this cheesecake on the same day that I filled the crust, as it was already pretty late in the day and the recipe calls for a 4 hour chill before serving. Once I did taste it, I was honestly pleasantly surprised. I tasted the filling earlier in the process, before it had been drained and didn’t really like it and thought the lemon zest would be an odd texture in the final dish. However, after draining, the flavor and texture improved dramatically. The texture, while nowhere near as firm as traditional cheesecake, was very smooth and had a nice consistency (somewhere between whipped cream and whipped cream cheese). The lemon zest disappeared as far as texture goes, but you can definitely taste the brightness it and the lemon juice brings to the table. The crust compliments the filling very nicely flavor wise, being a warmer flavor than the rest of the dish. However, the crust didn’t hold up very well, as after one night in the refrigerator, it had become pretty soft, making it hard to get clean slices. Overall, this cheesecake captures most of the essential cheesecake flavors while having a perfect balance of sweetness in my opinion. The topping was a great addition, not stealing the show, but being a good compliment to the filling, as was the crust. For what it is, I’m giving this recipe a 9/10. The only things I can complain about are the crust, which may have been my fault, and that the texture isn’t what you’d expect from a cheesecake. Oh, and it ended up taking 3 days to complete. I think it was well worth it.

Good Pics Come Easy For This One