Broccoli & Farro Polpette
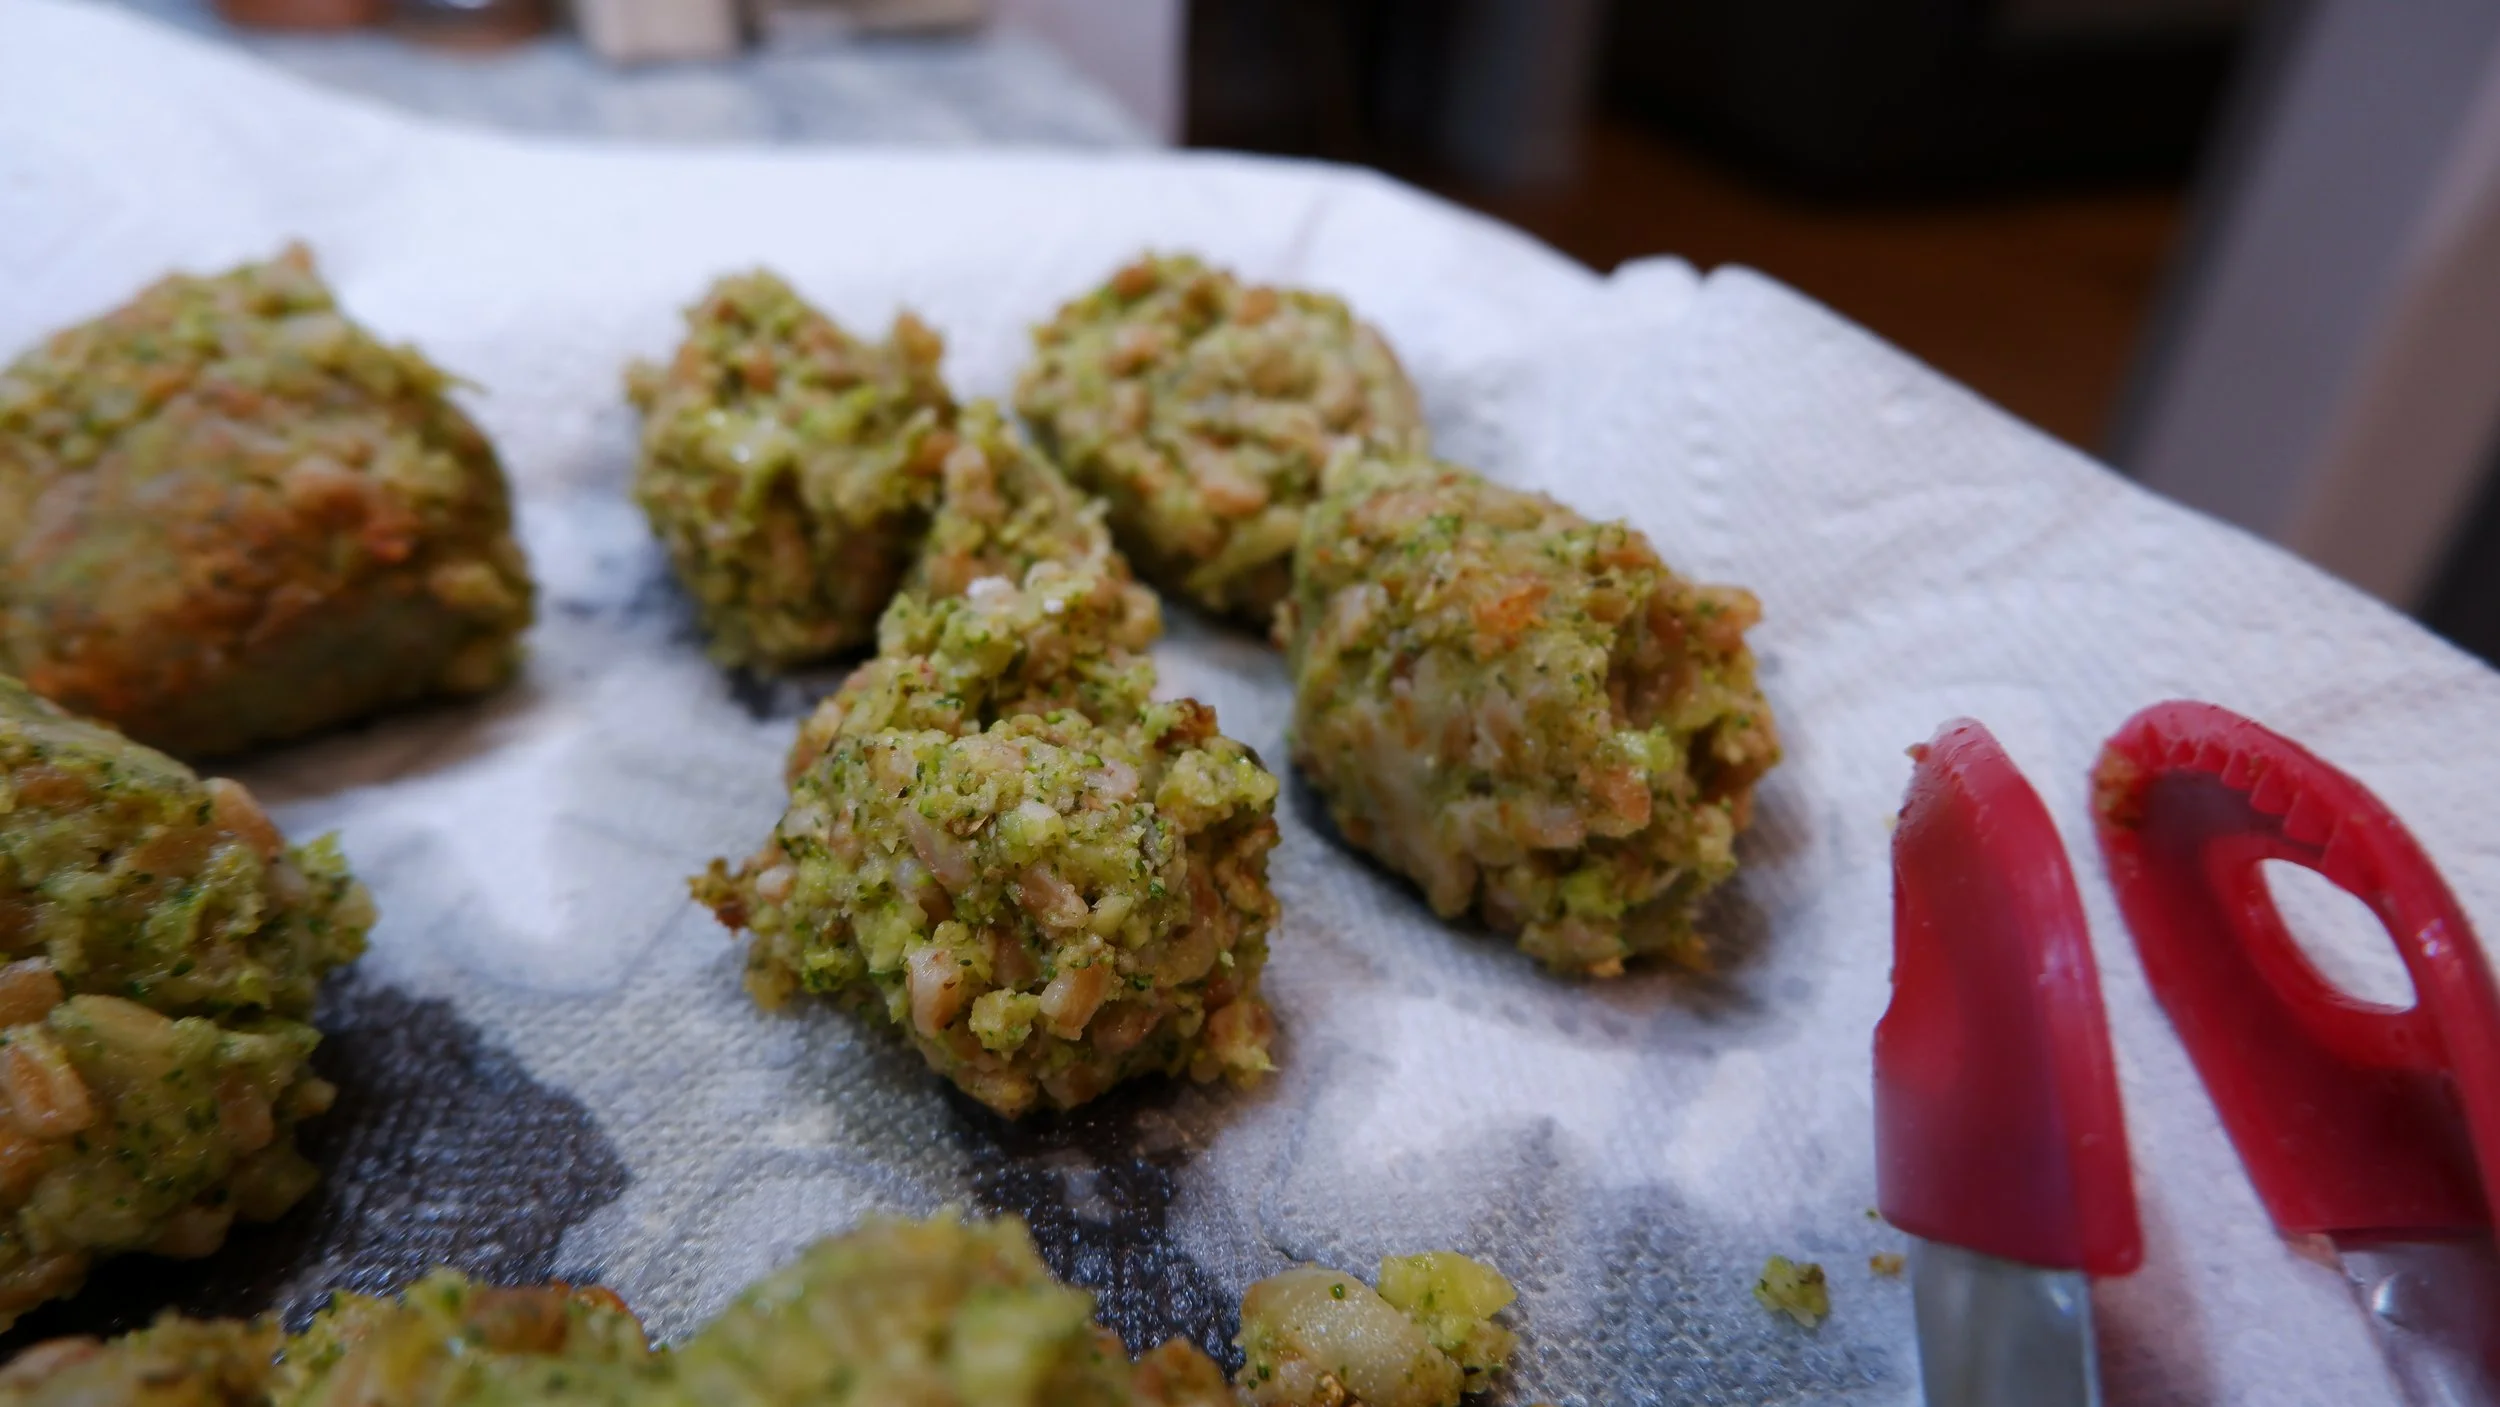
They look pretty greasy judging by the paper towels
Meatless meatballs are a first for me
Time: 3 Hours not including cooling, but including time to make roasted garlic puree
Ingredient Availability:4/5
Difficulty: 2/5
After a little research, a Polpette is just a traditional Italian meatball, which is an interesting choice of words for this recipe. As far as traditions go, I’m not Italian, but I’m pretty sure this is pretty far from traditional. In any case, I’m actually a fan of both farro and broccoli, so seeing this recipe was a pleasant surprise. This one is pretty out of the ordinary for me. I rarely have any meals without meat and the plan for this recipe is to pair it with another meatless recipe from this book: Cacio e Pepe Pastina.
Key Ingredients & Omissions:
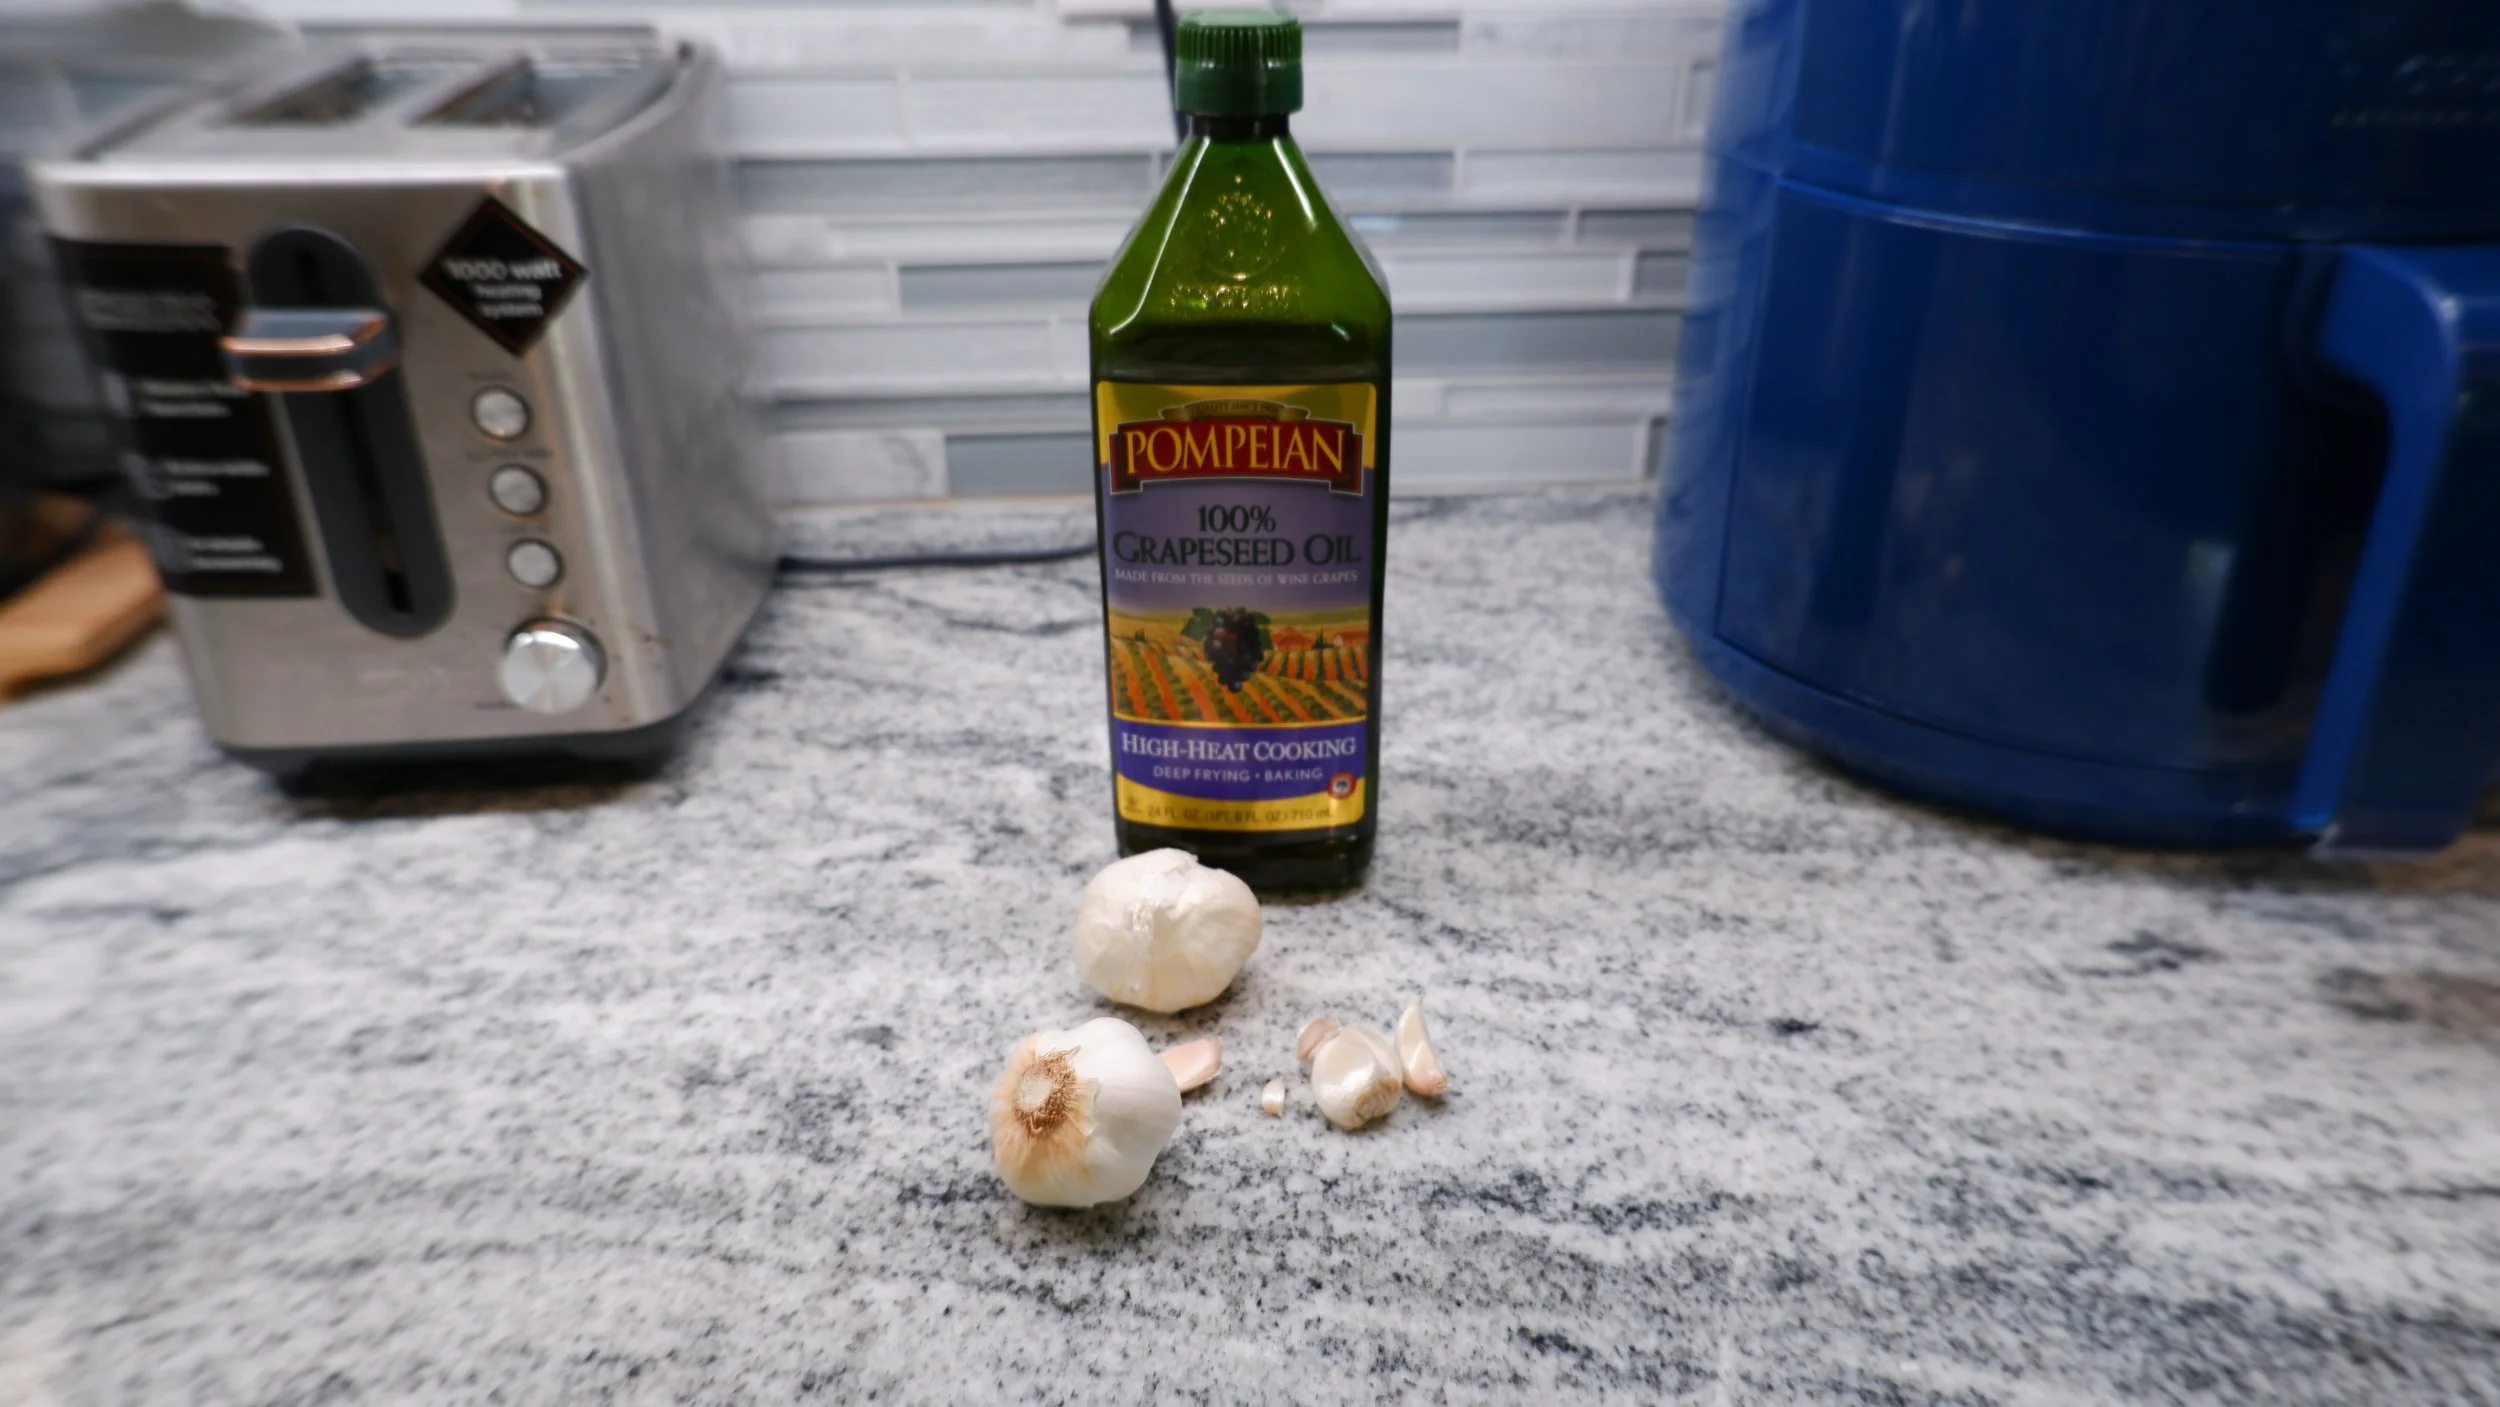
Roasted Garlic Puree Ingredients
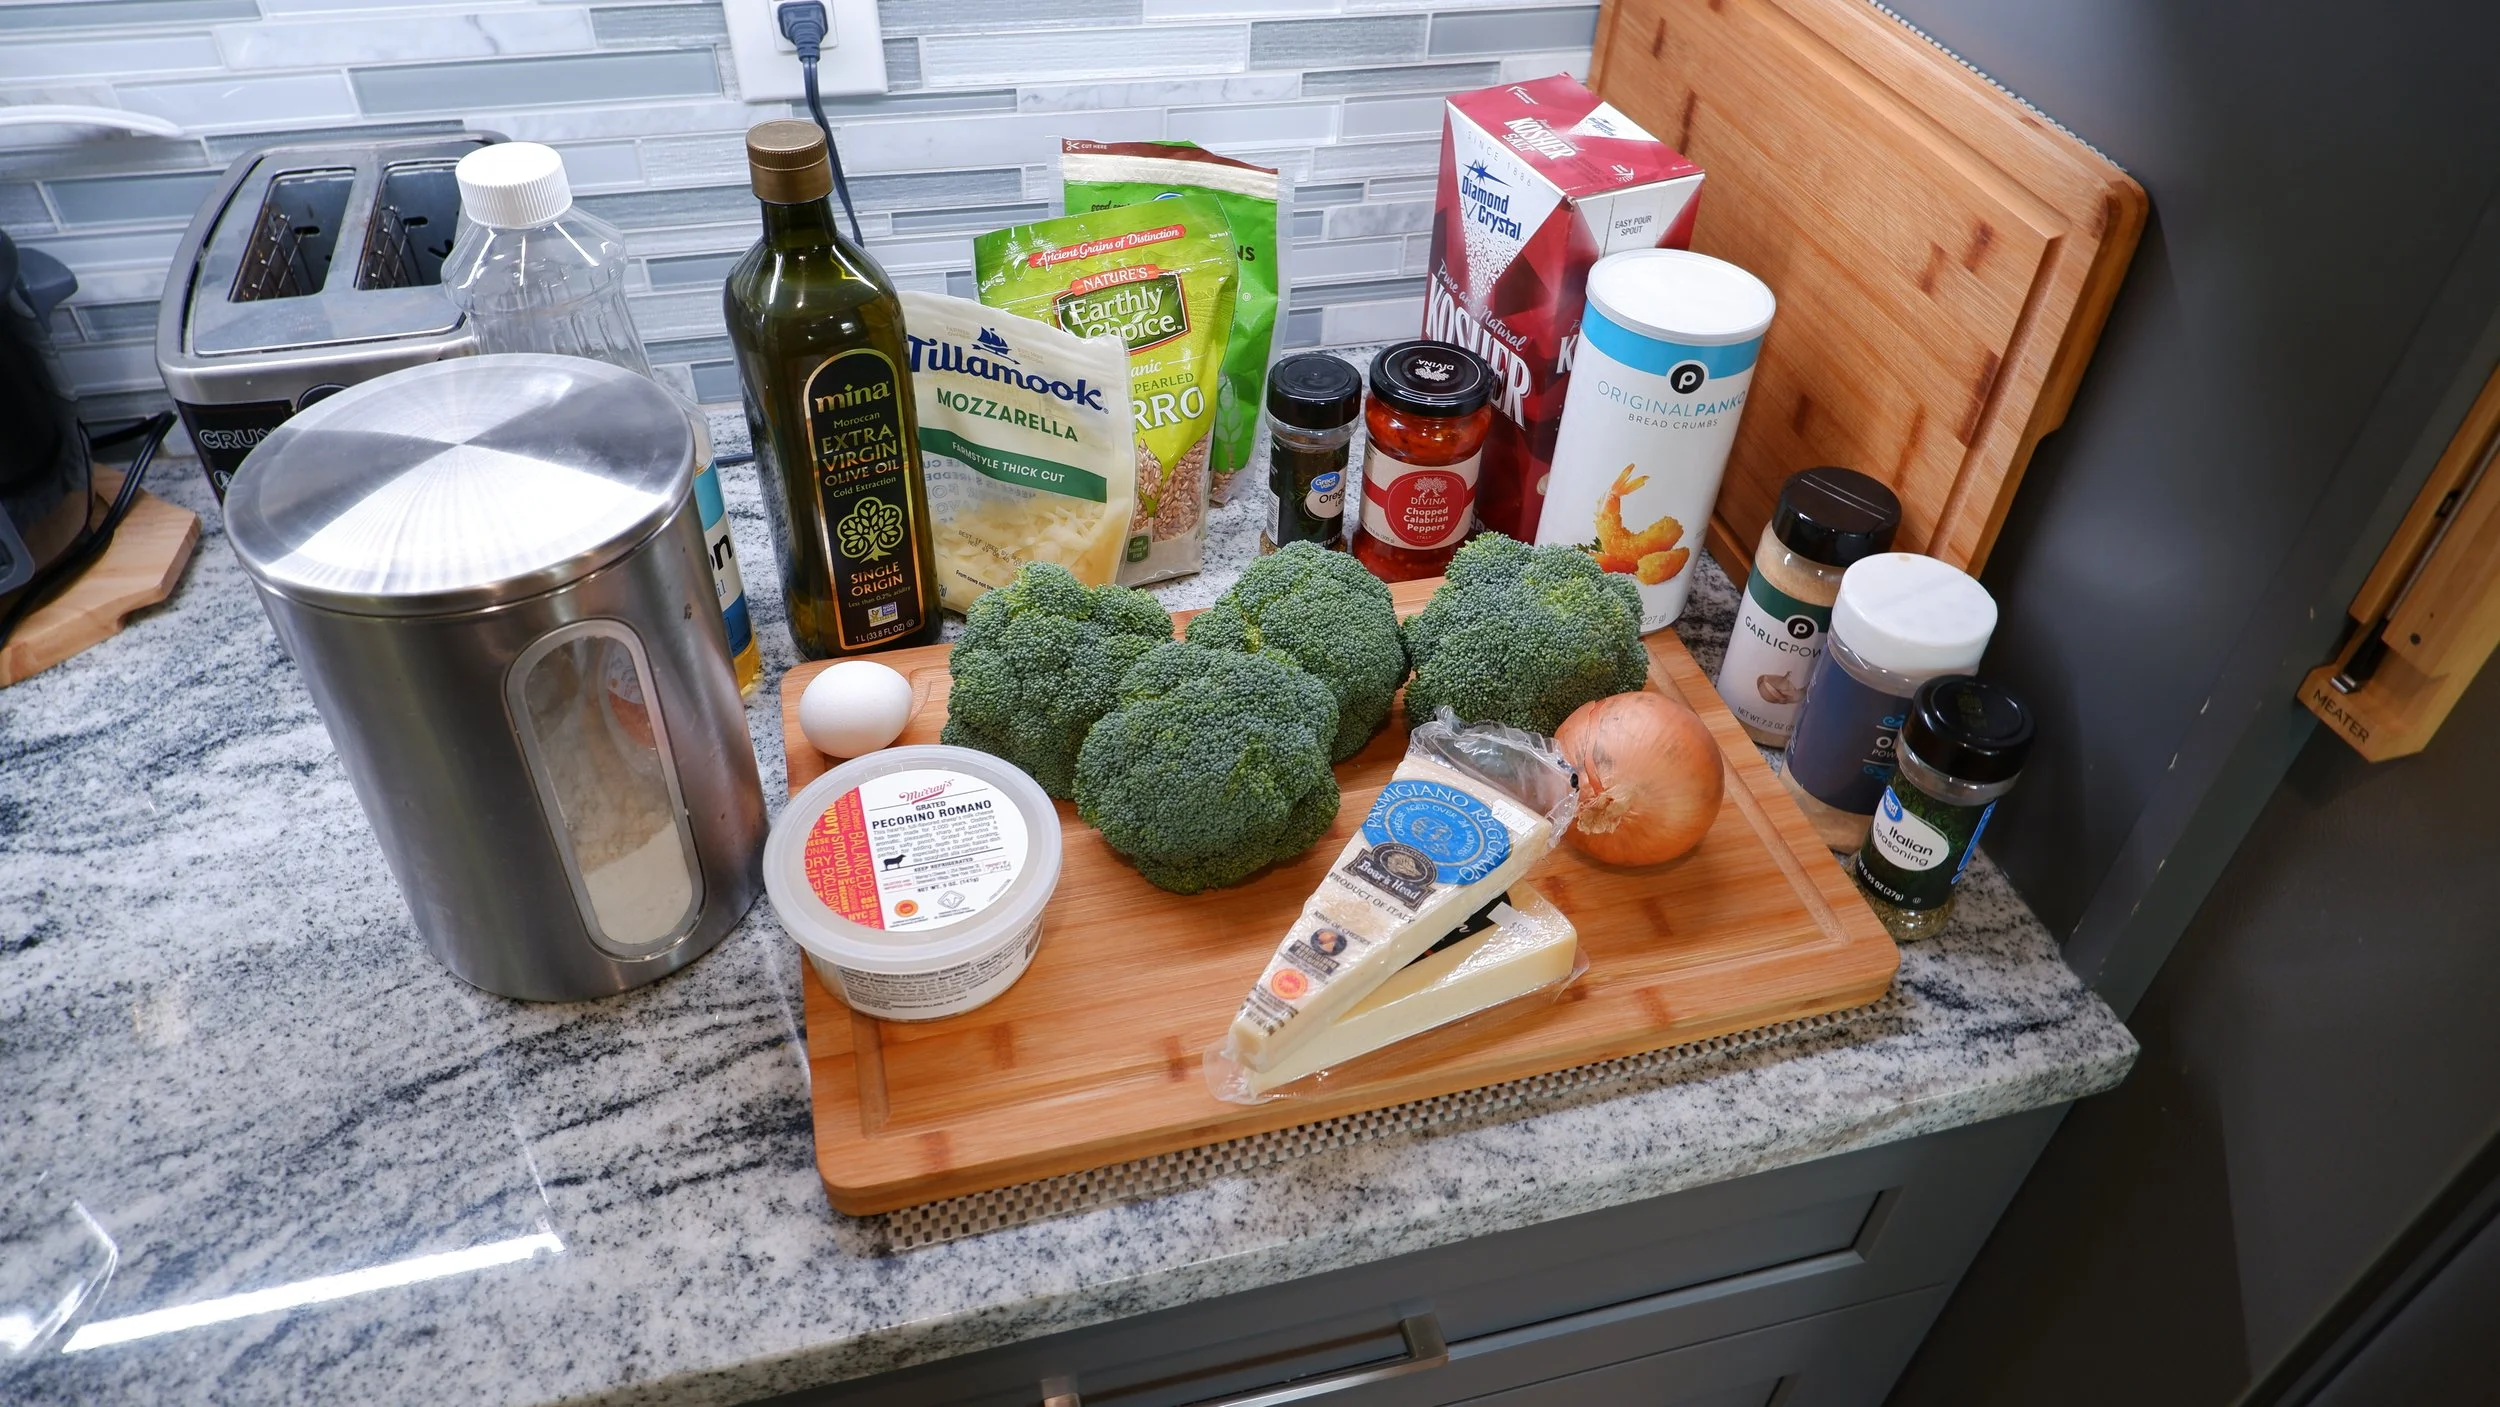
I would recommend using regular breadcrumbs (with Italian seasoning) instead of Panko
I tried to stay as true to this recipe as possible, but I think that some of my replacements may have affected the final product.
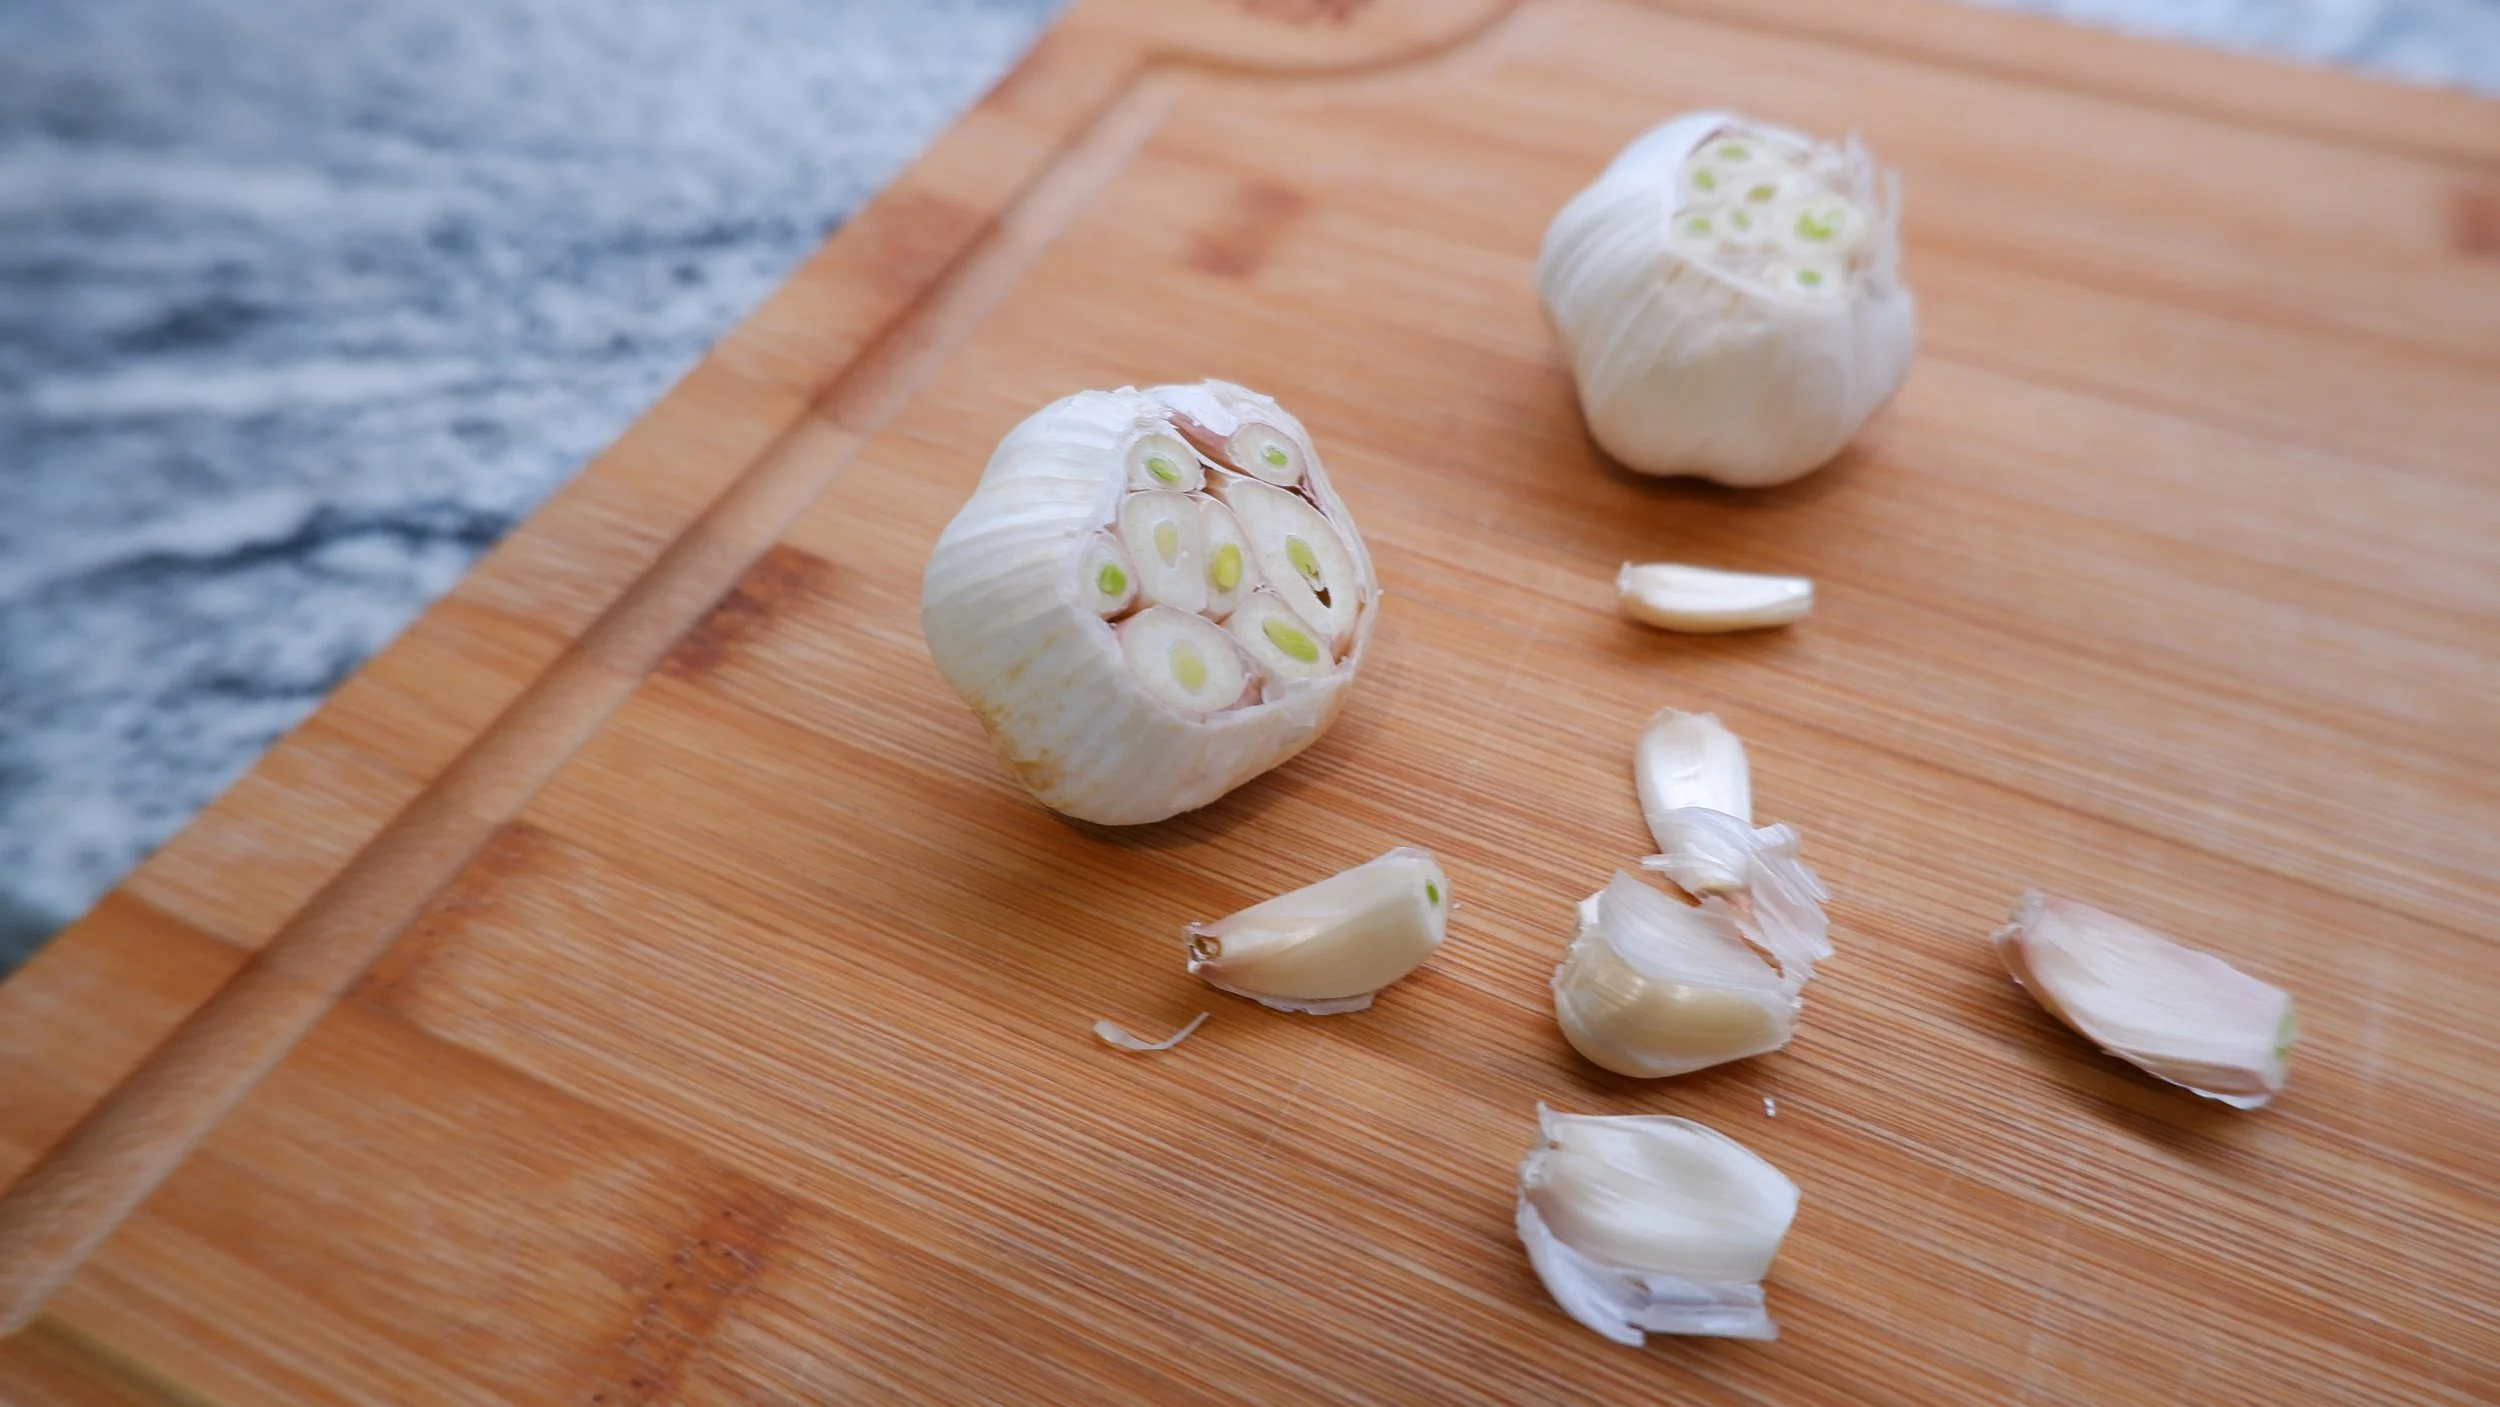
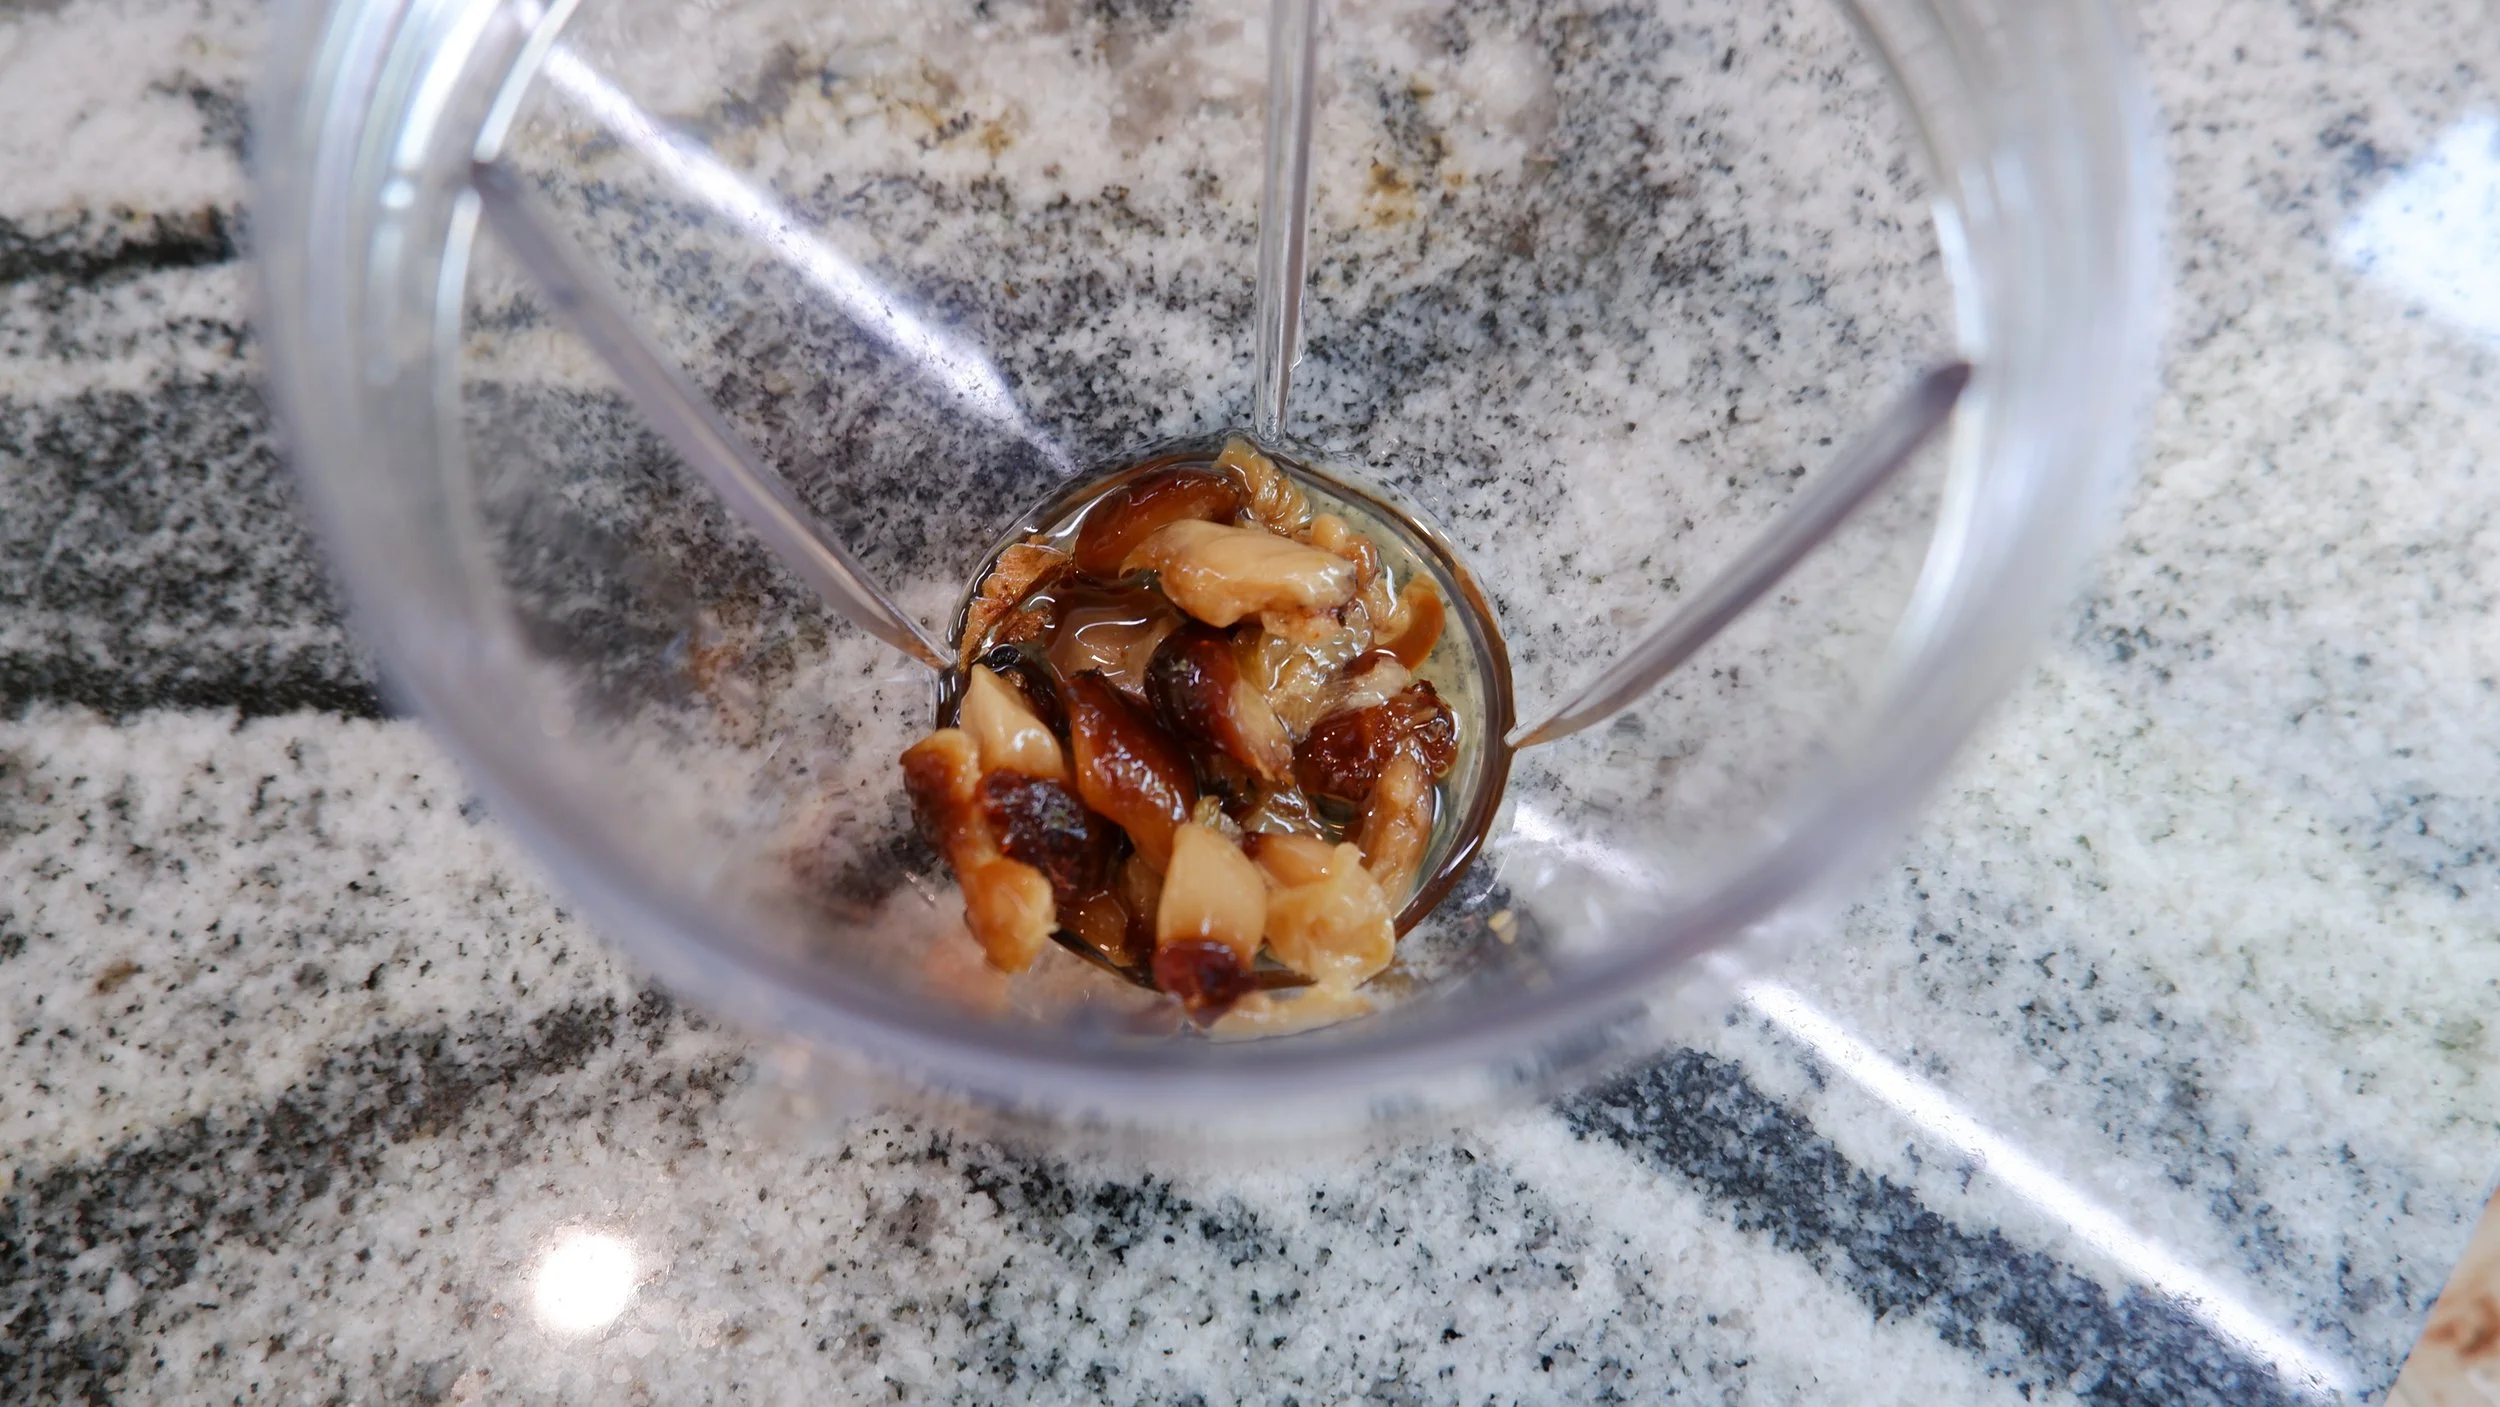
Before you make this, you should make the roasted garlic puree from this book. It’s pretty easy, just roast garlic in some neutral oil in the oven for an hour or two. Instead of making a full two cups, I just used the two heads of garlic I had to make the quarter of a cup I needed.
I didn’t have any regular breadcrumbs, which I could add seasonings to to make “Italian” breadcrumbs (obviously, I didn’t have any Italian breadcrumbs either). Instead, I had Panko breadcrumbs, which I seasoned as described in the Italian breadcrumbs recipe in this book. I don’t know for sure, but this may have contributed to an issue I had later.
Tools:
Cooking Review:
Roasted Garlic Puree: 3 hrs 15 minutes
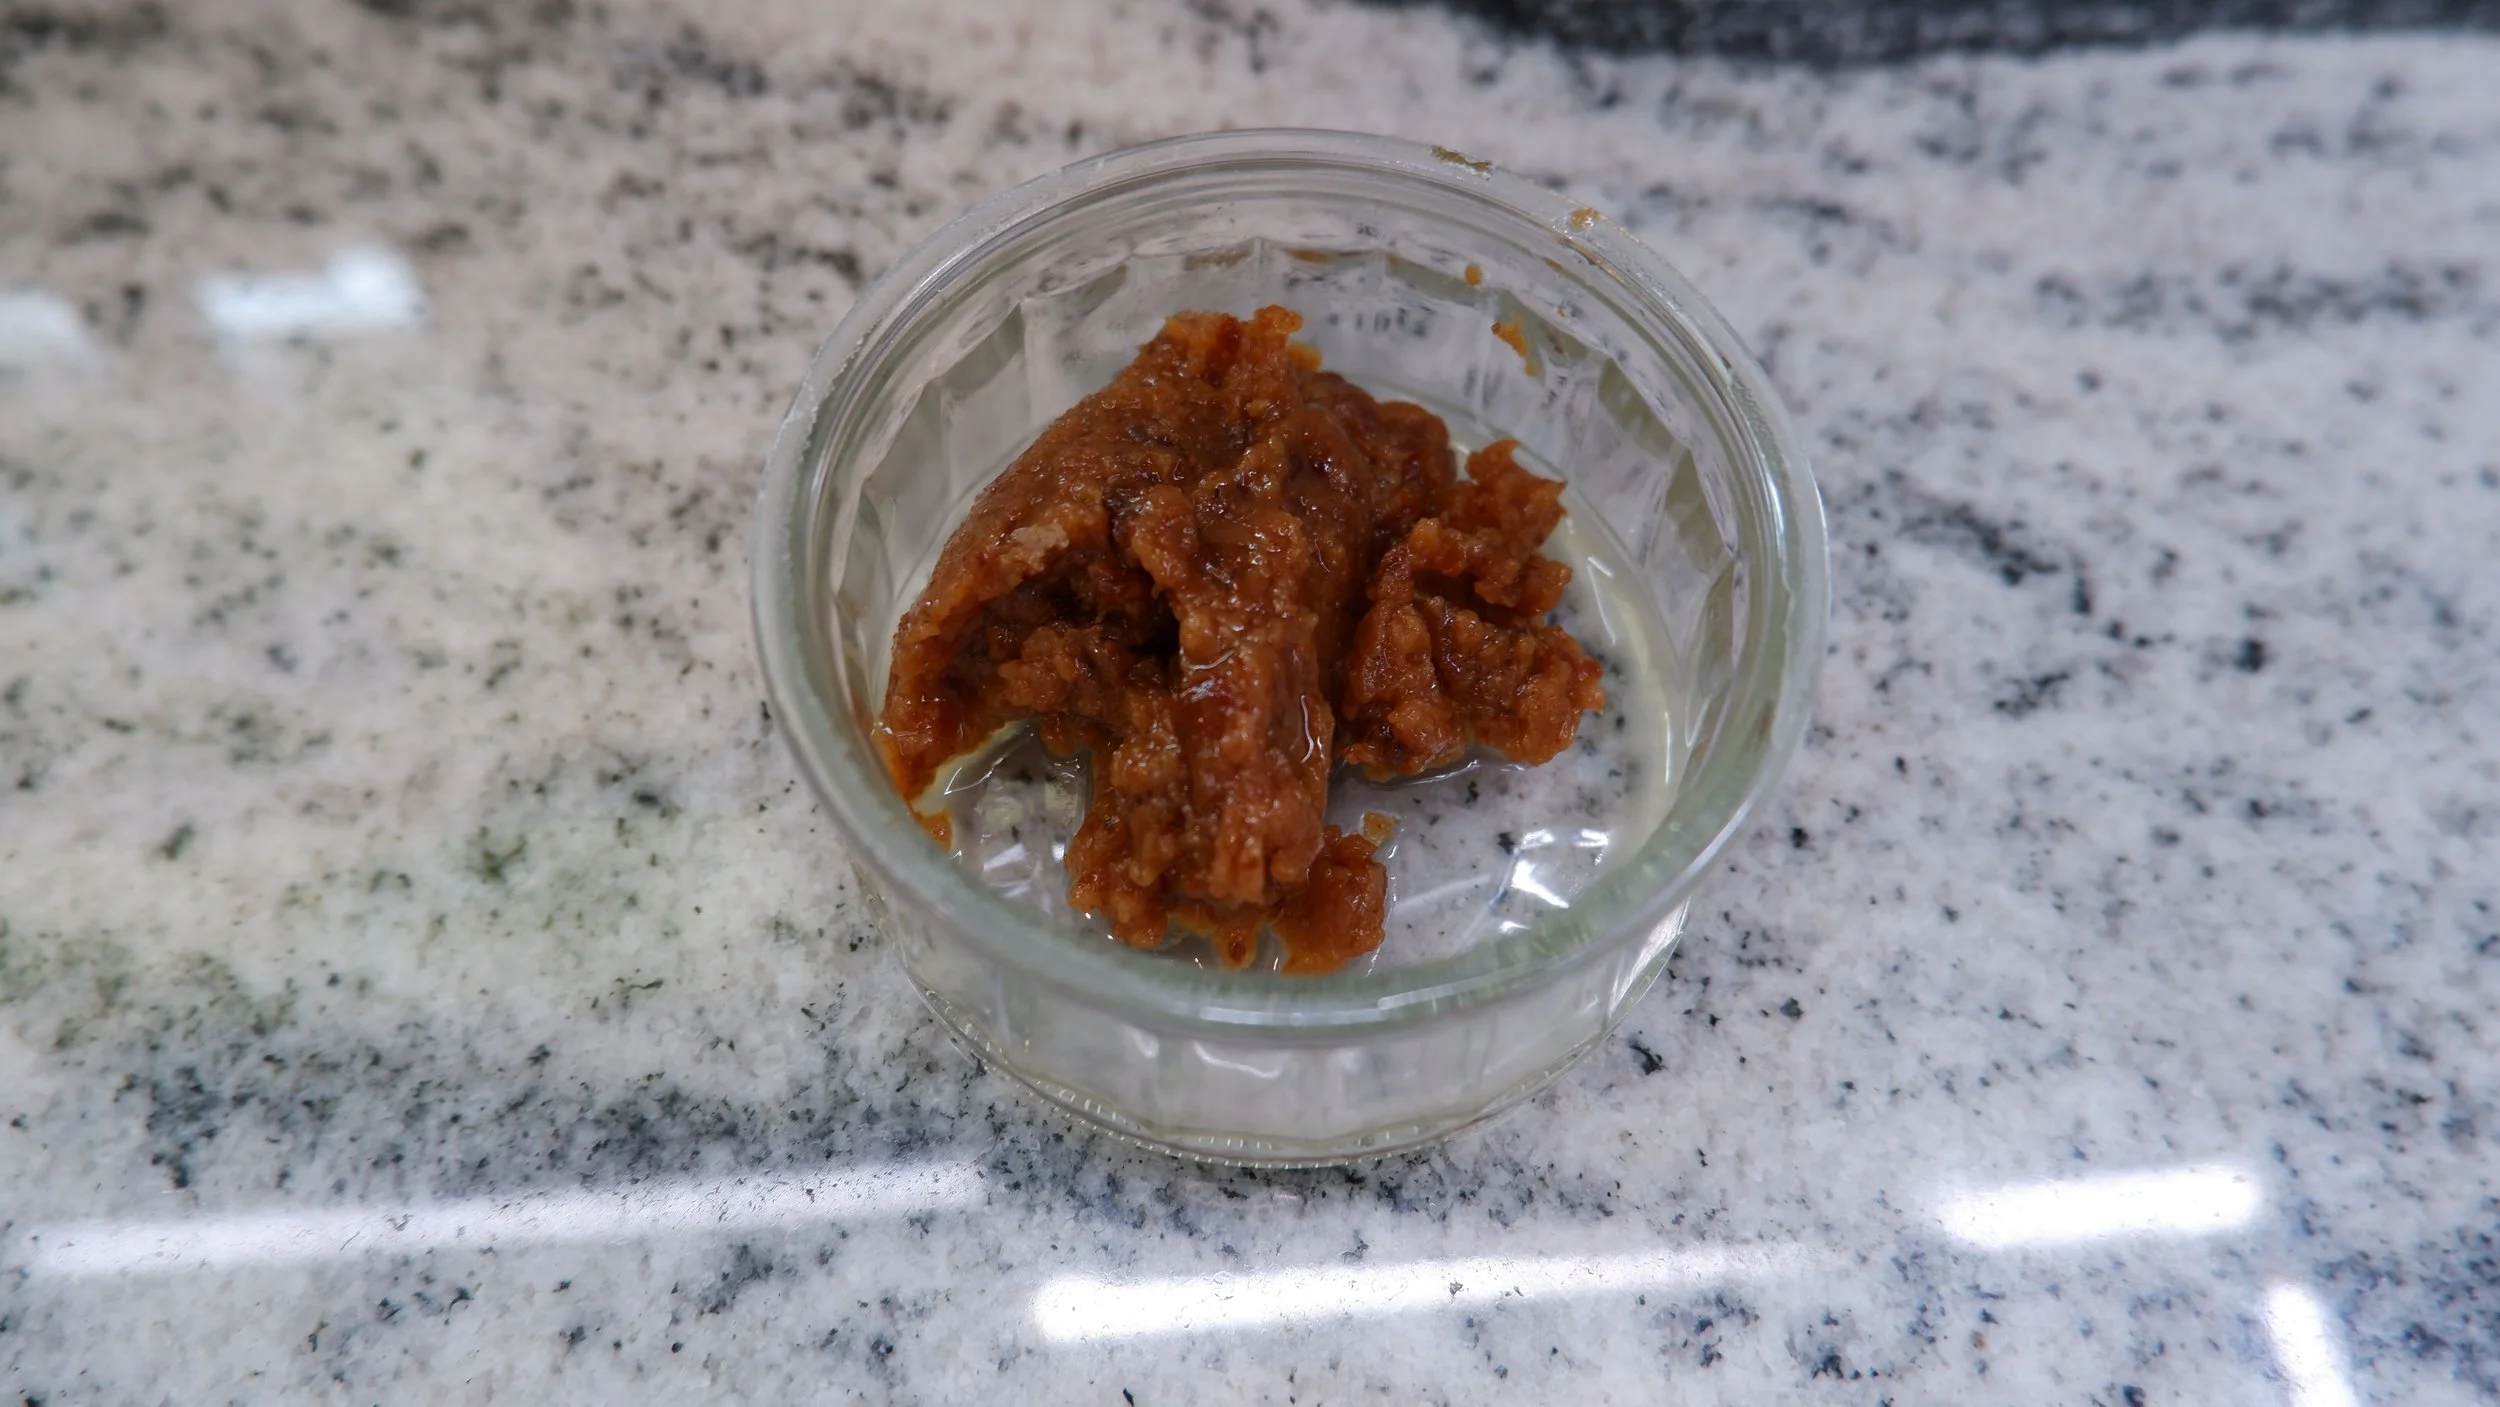
As described earlier, this step is pretty easy. After cutting the tops off of the garlic, I put them cut side down into two cups of a muffin tin to save oil, as I wasn’t making very much. I filled the two cups with oil until the garlic was about half way submerged. I then let them roast for 2 hours. Next, removed the tin from the oven and let it cool for almost an hour before separating the garlic from the skins and blending them as best I could. It would be better to do a larger batch to help things blend more smoothly. I didn’t add any pieces that felt hard to the blender. Once blended, I transferred the puree to a small container to cool.


Prep:15 minutes
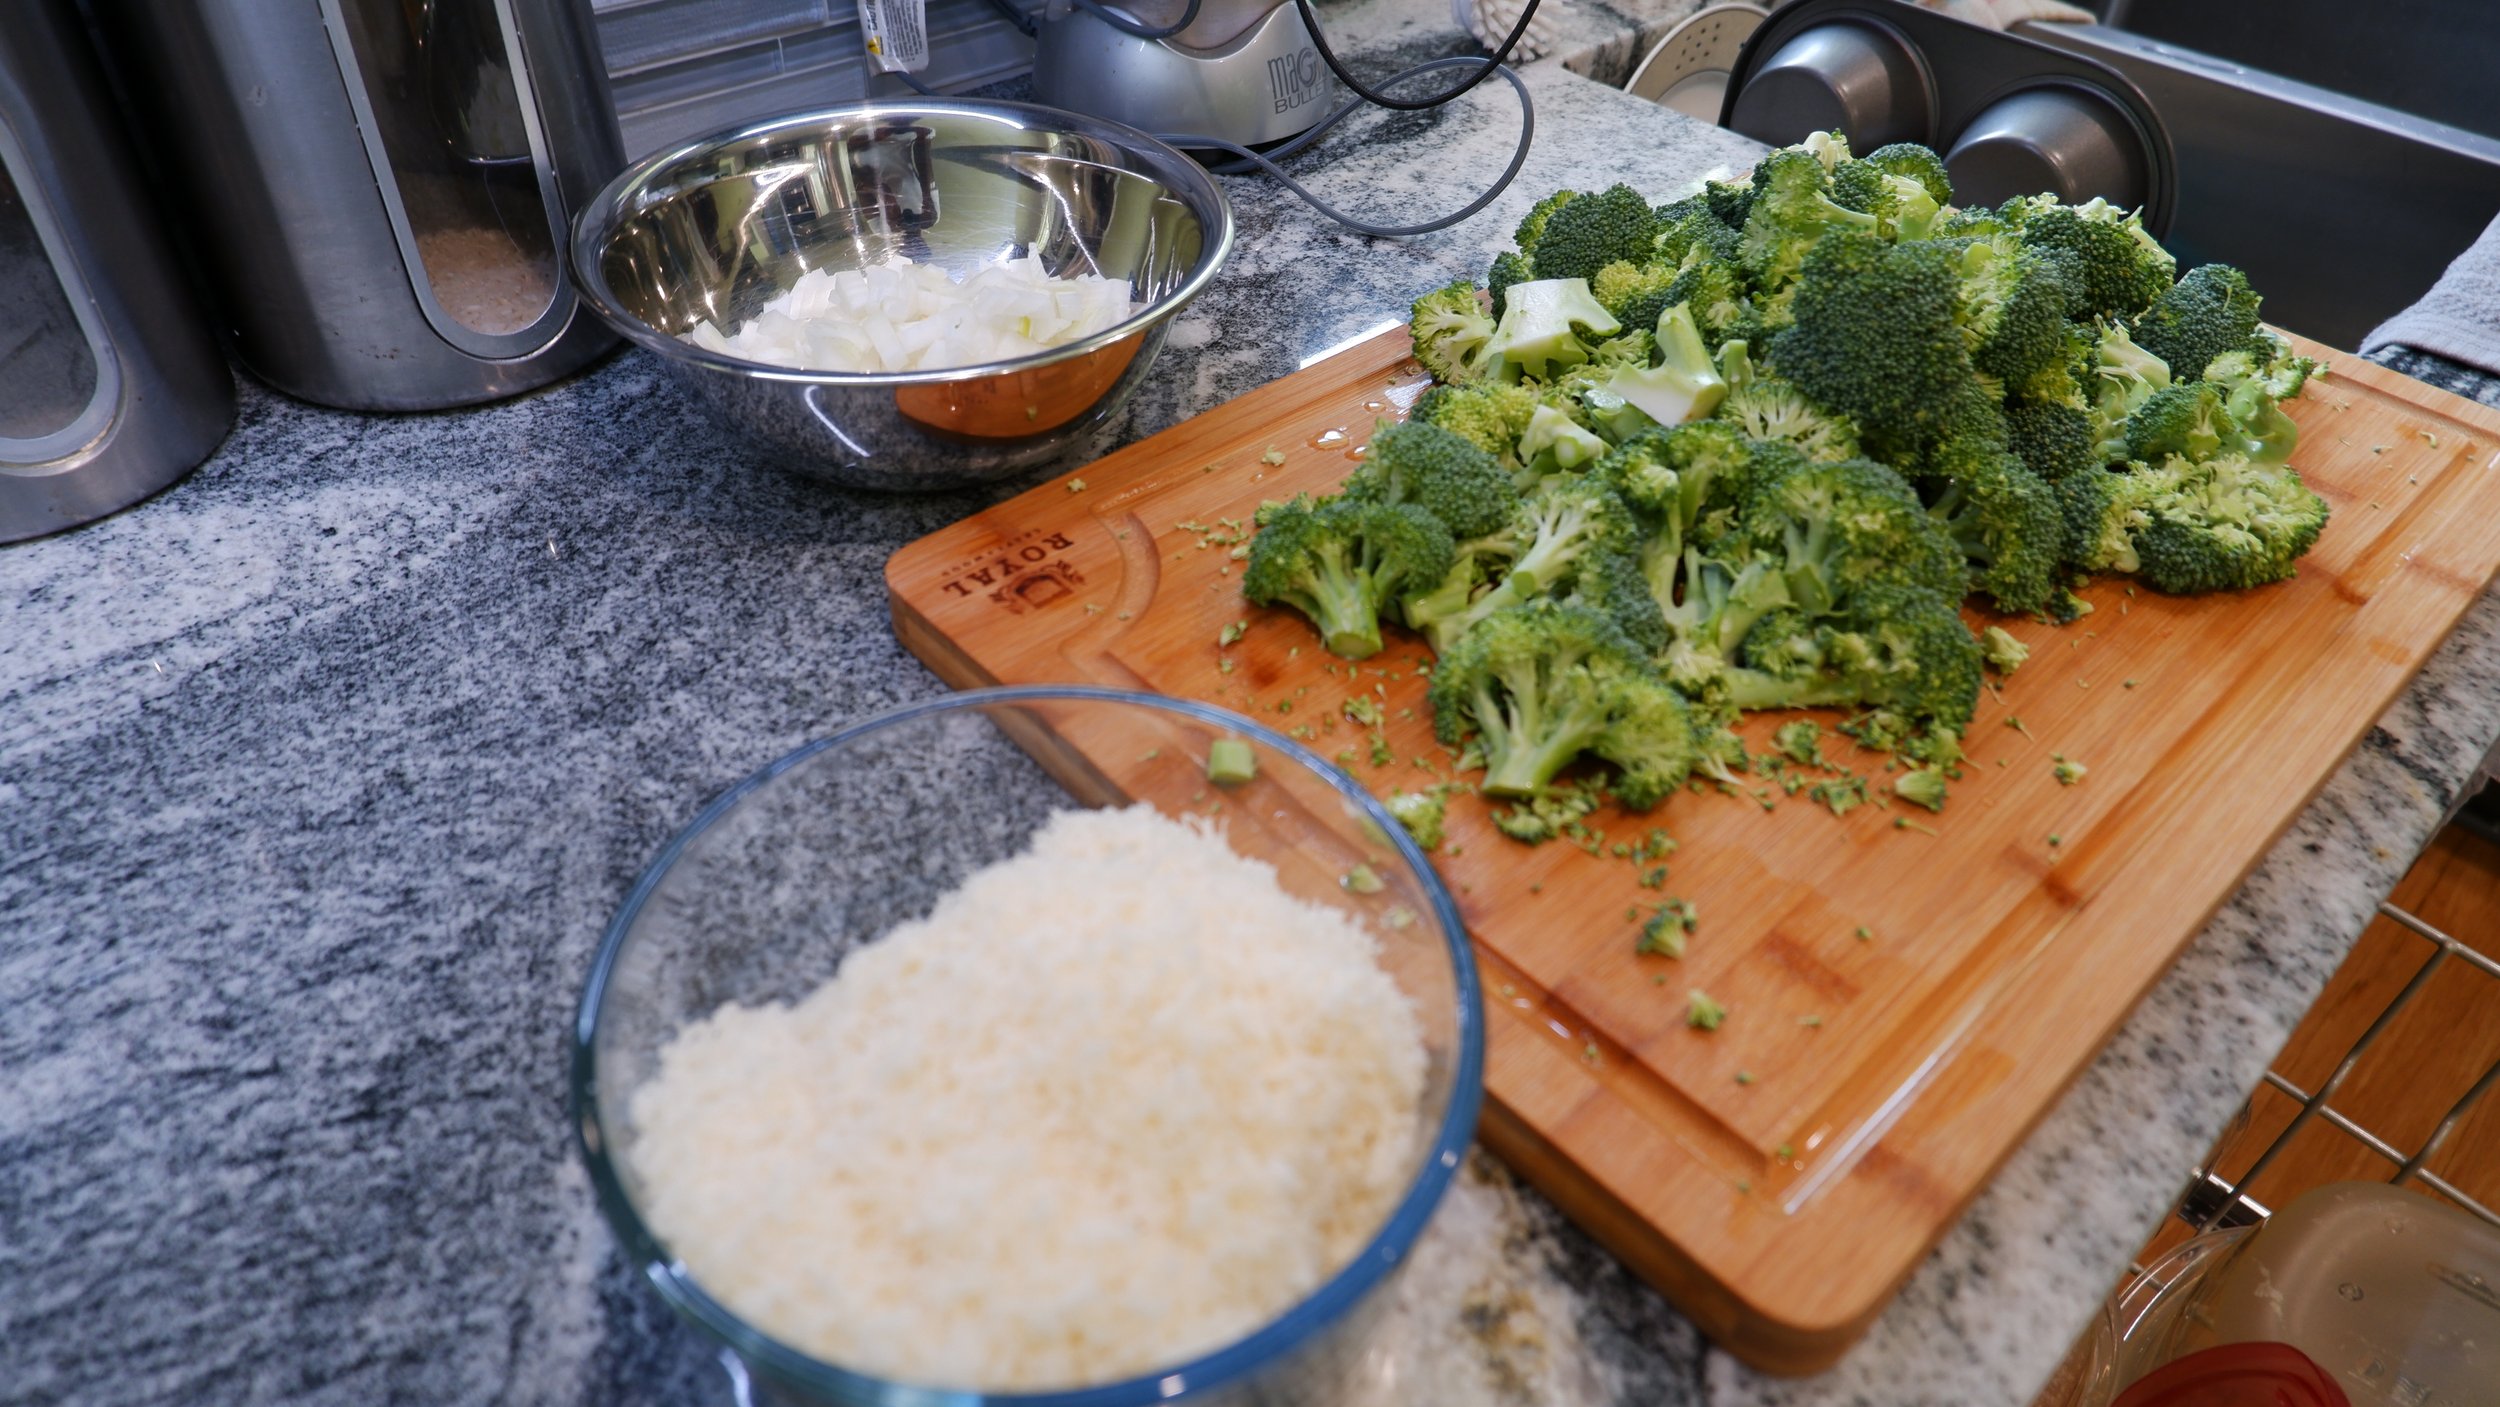
The Prep for this recipe includes roughly chopping the broccoli, dicing the onions, and grating the cheese. I also mixed some seasonings into the Panko breadcrumbs that I used.
I had plenty of cheese from one wedge
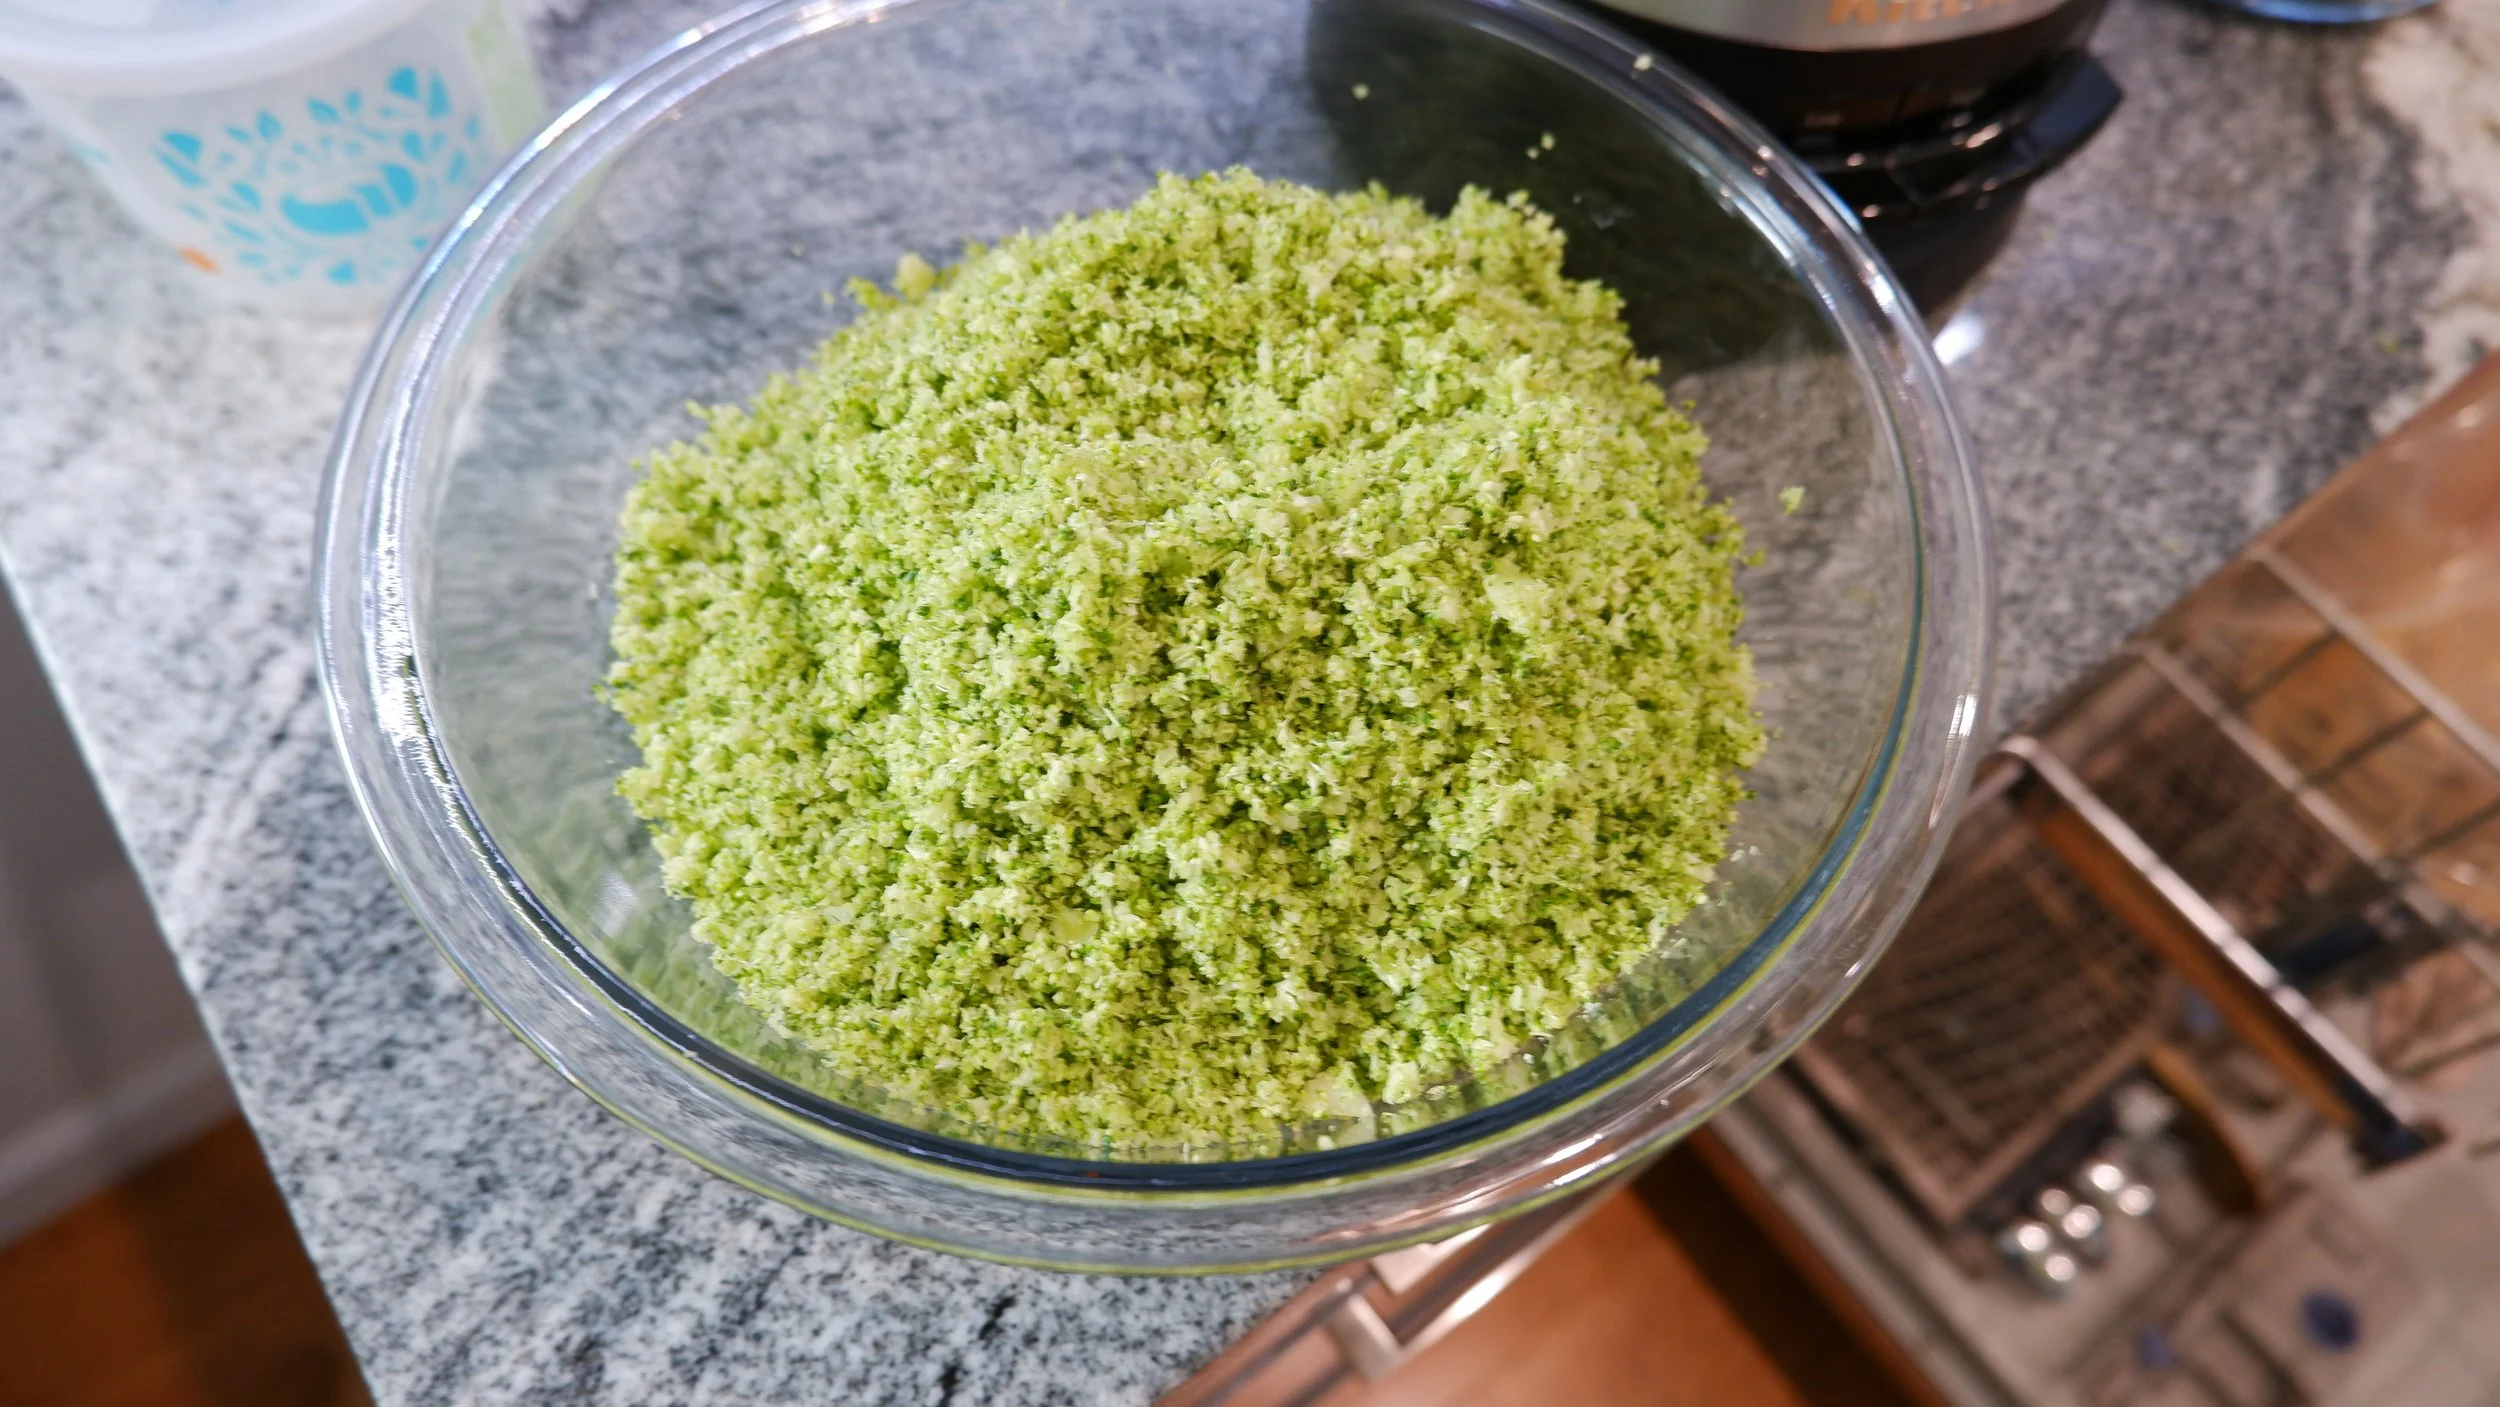
Processing Broccoli: 10 Minutes
Once the broccoli is chopped, it needs to be broken down into smaller pieces. You may be able to fit all of your broccoli into your food processor if it’s large enough, but it’s probably best to process it in at least two batches until it’s all evenly broken down. The broccoli has a tendency to stick to the bottom of the food processor, so the broccoli on top has a harder time reaching the blades.
This was a little more than the 4 cups required
Cooking Farro: 40 minutes
Before I started working on breaking down the broccoli, I got a pot of water on the stove to come to a boil for the farro. Once it was boiling, I added the farro and cooked it for about 33 minutes before transferring it to a pan to cool. This step can be done while you do the previous and following steps.
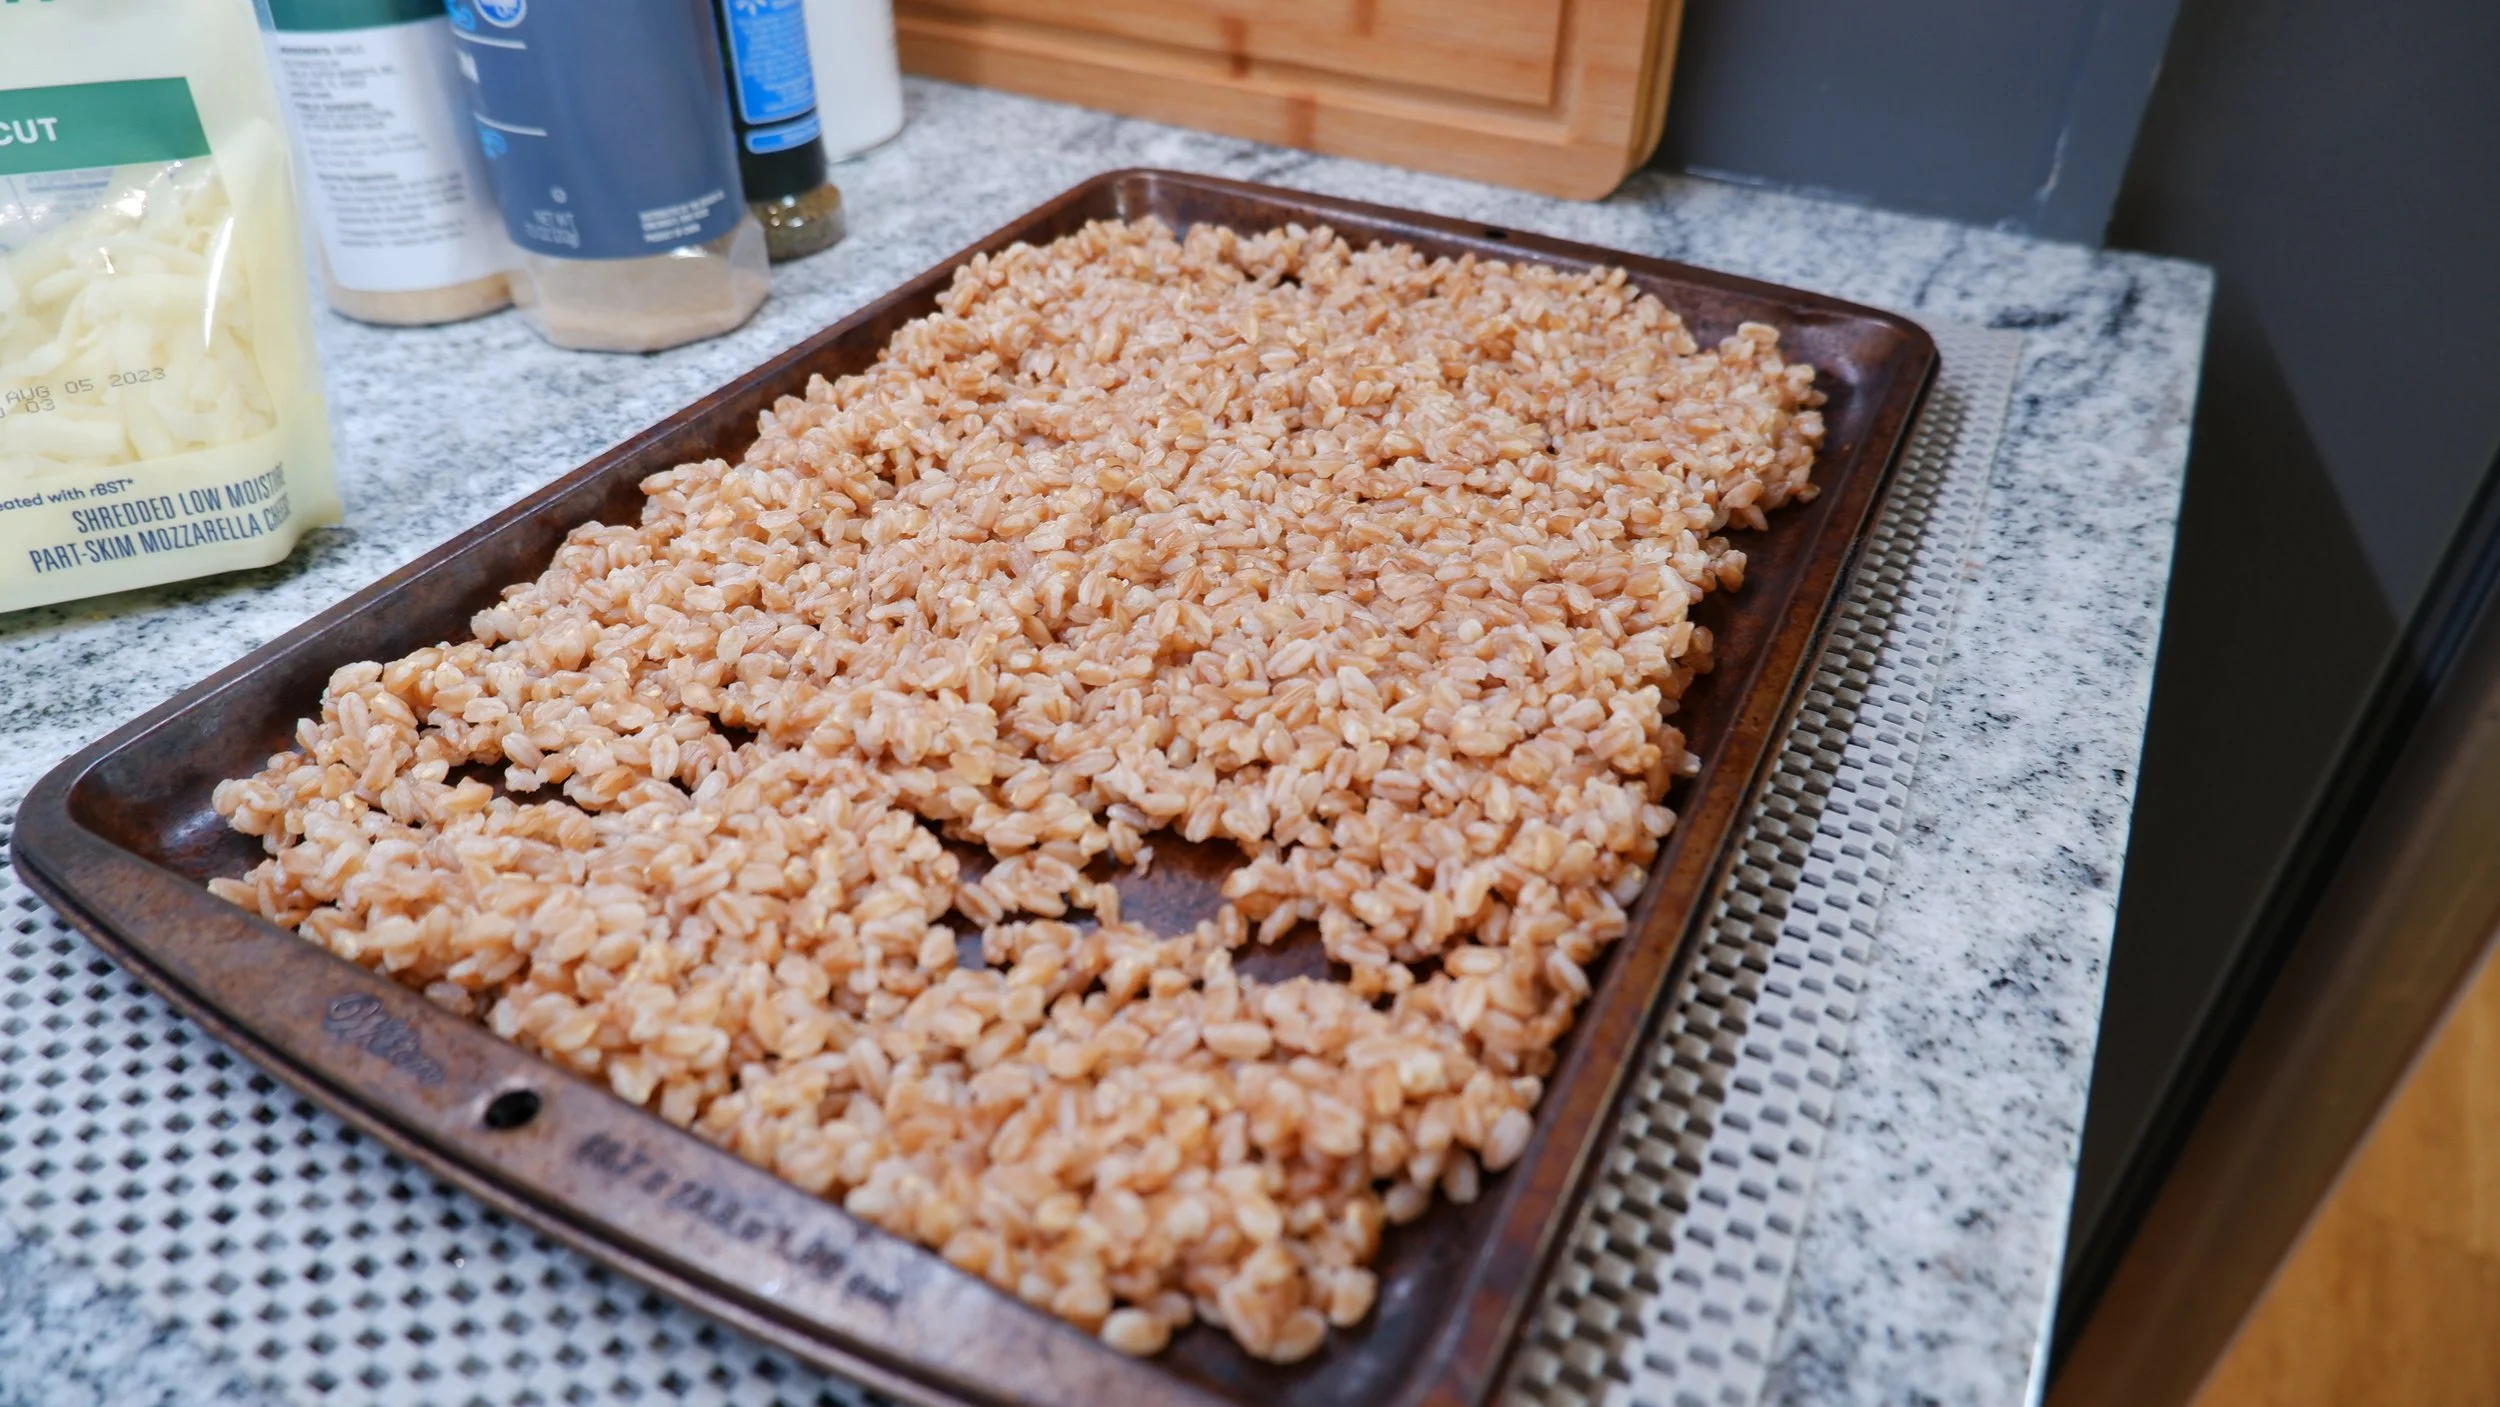
Spread it evenly to cool, I let it cool for over 2 hours
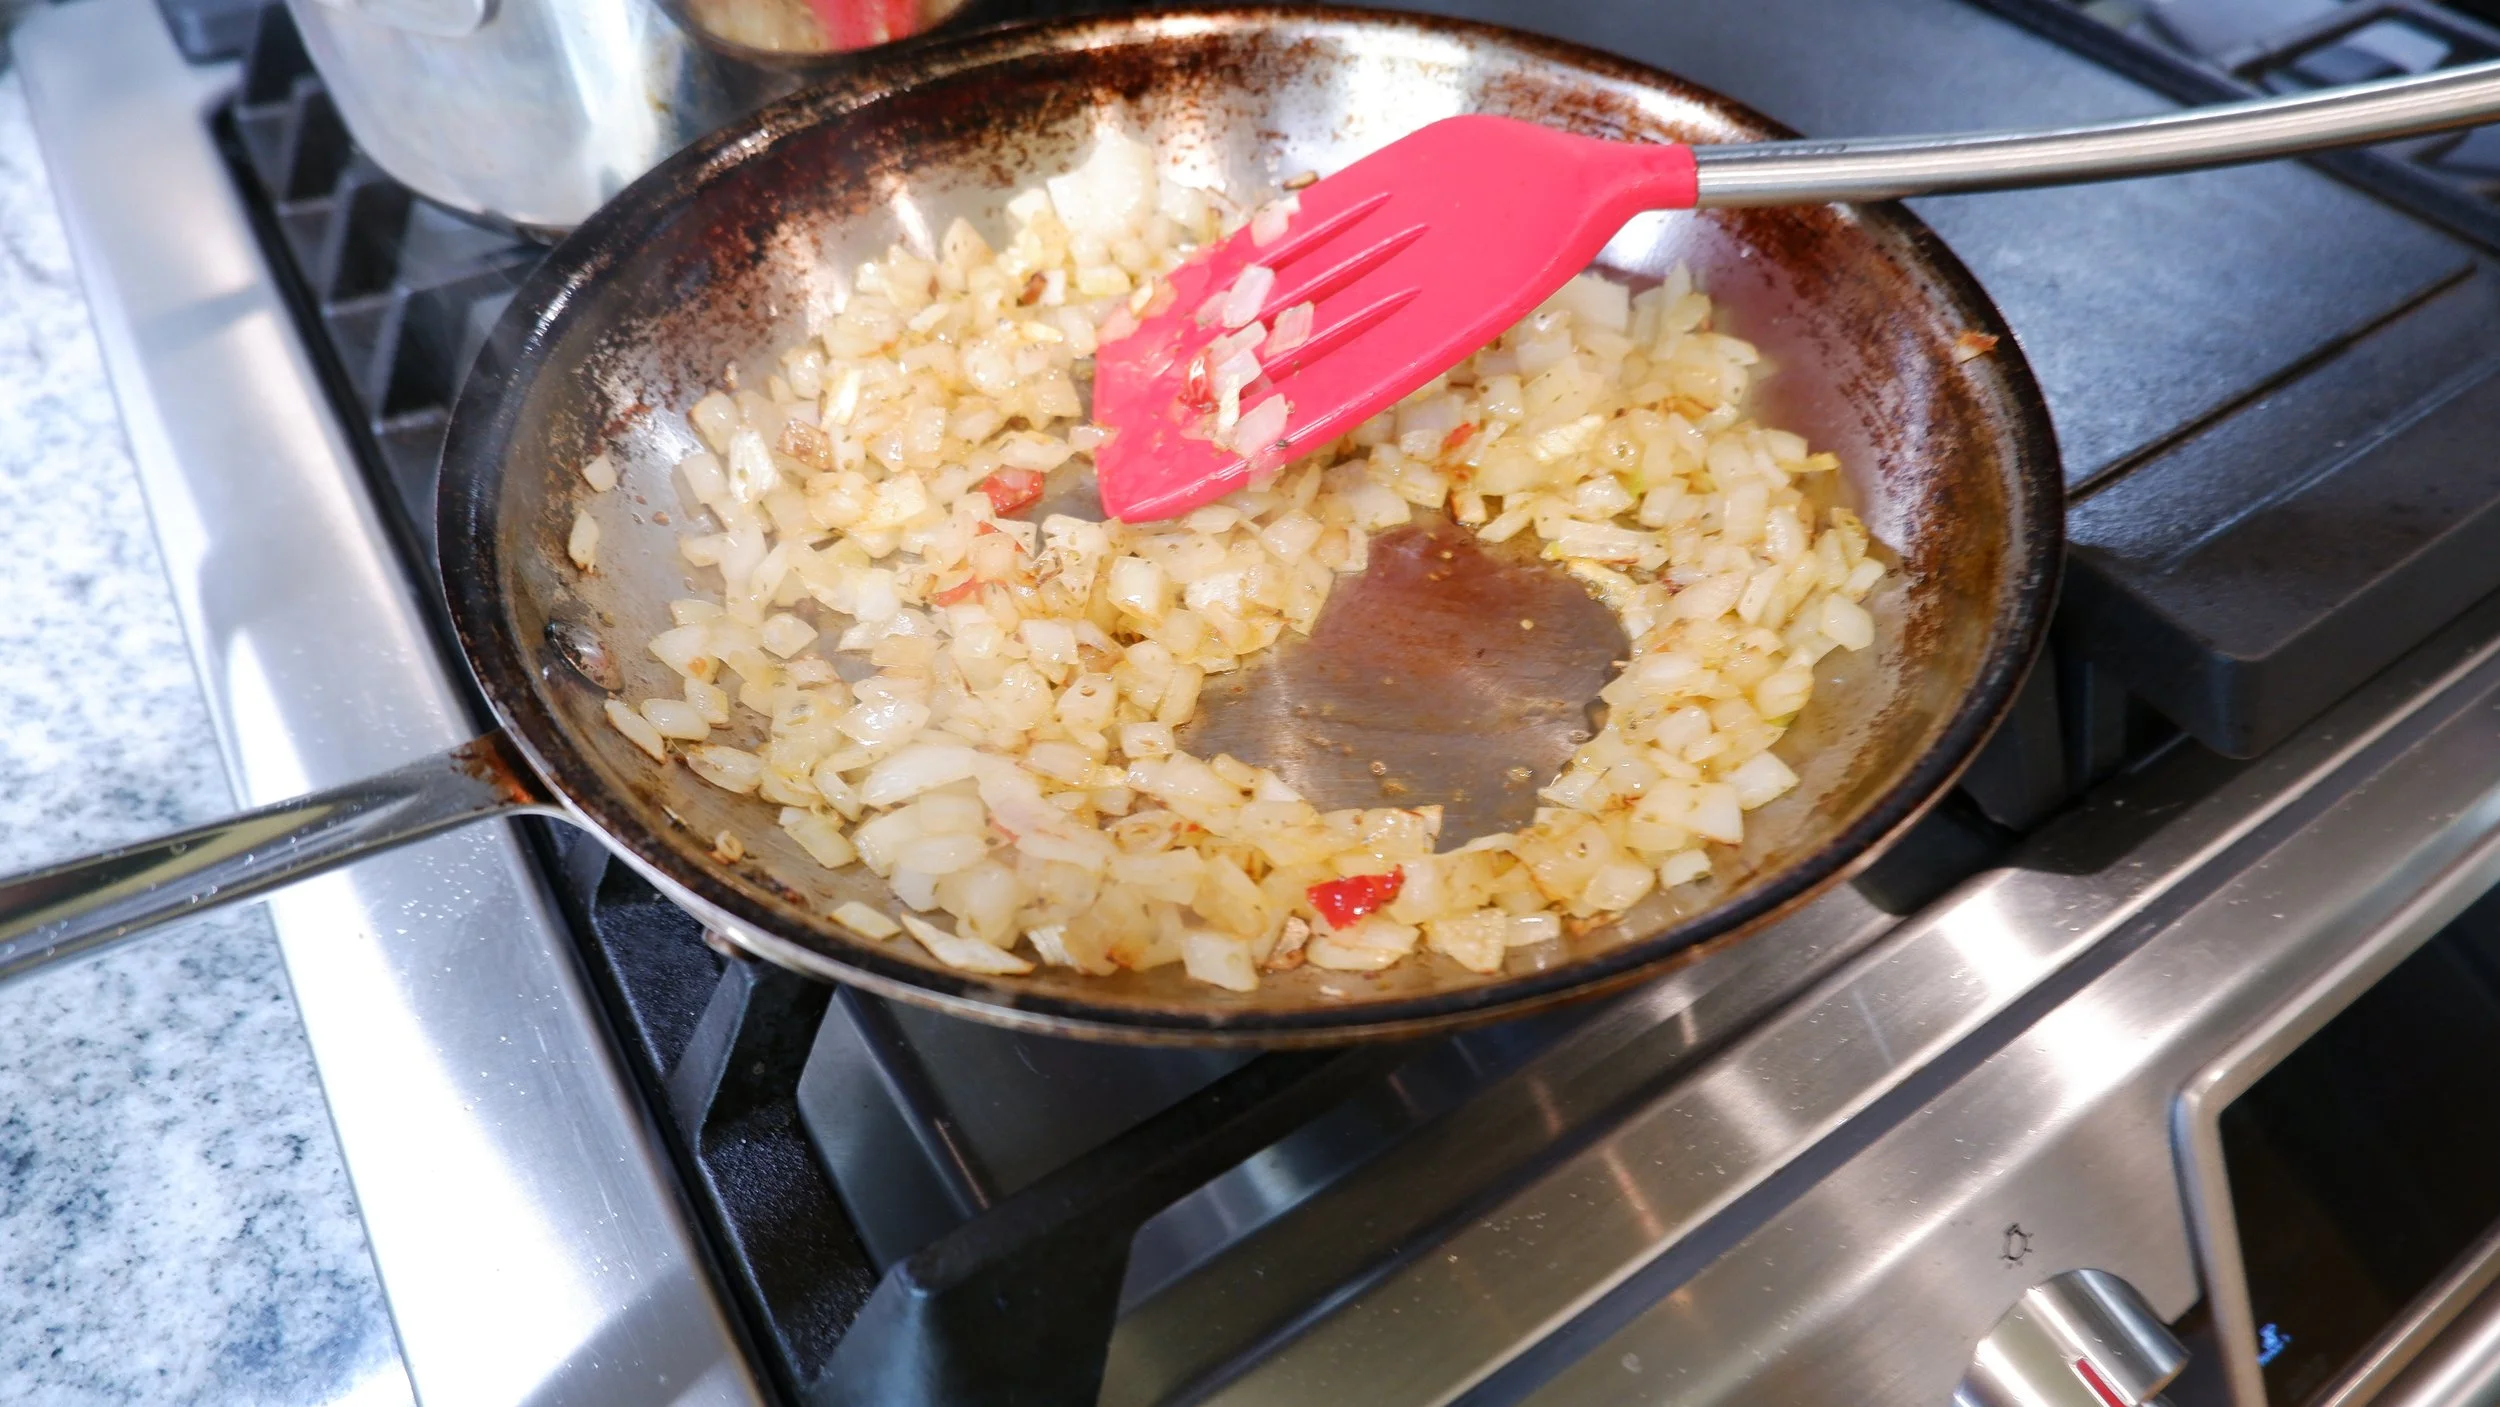
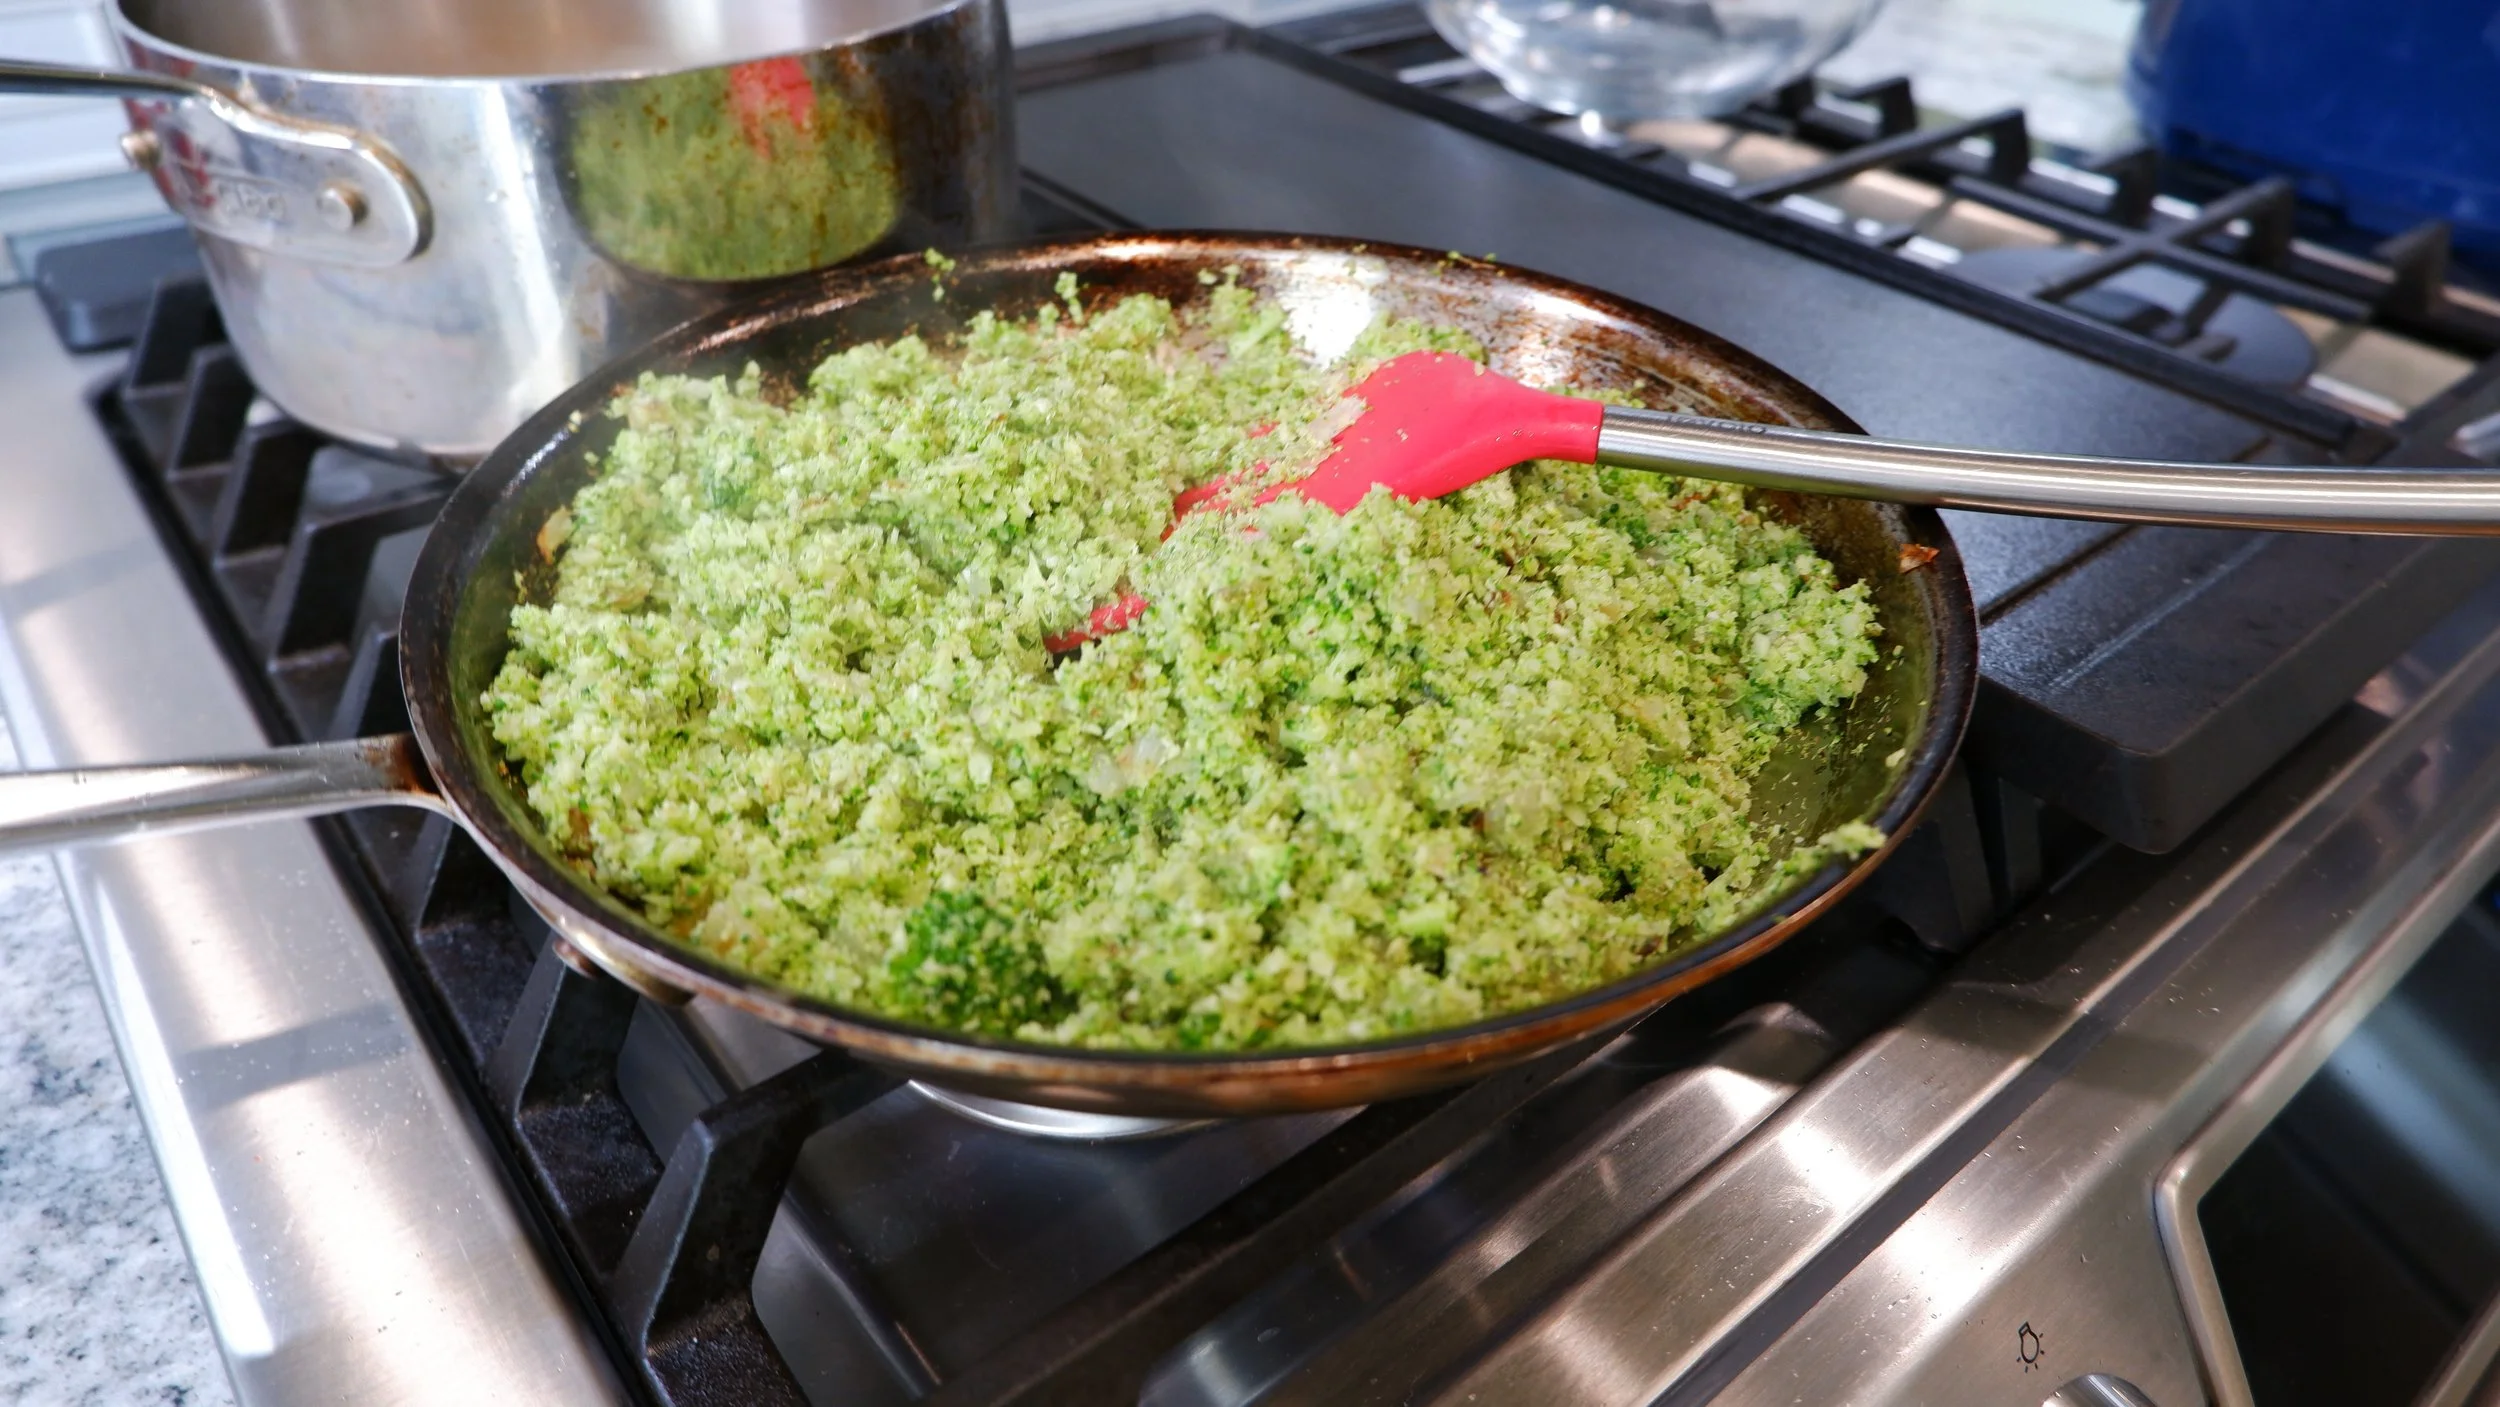
Cooking broccoli: 12 minutes
Before cooking the broccoli, I cooked the onions and accompanying ingredients for about 5 minutes. I then added the broccoli and cooked it, mixing everything together, for about another 5 minutes. Make sure you start with a large enough pan, as the broccoli will take up a lot of space. Once it was all cooked, I transferred the broccoli mixture to a bowl to cool. I let everything cool for about 2 and a half hours, but you could probably wait closer to an hour and a half.

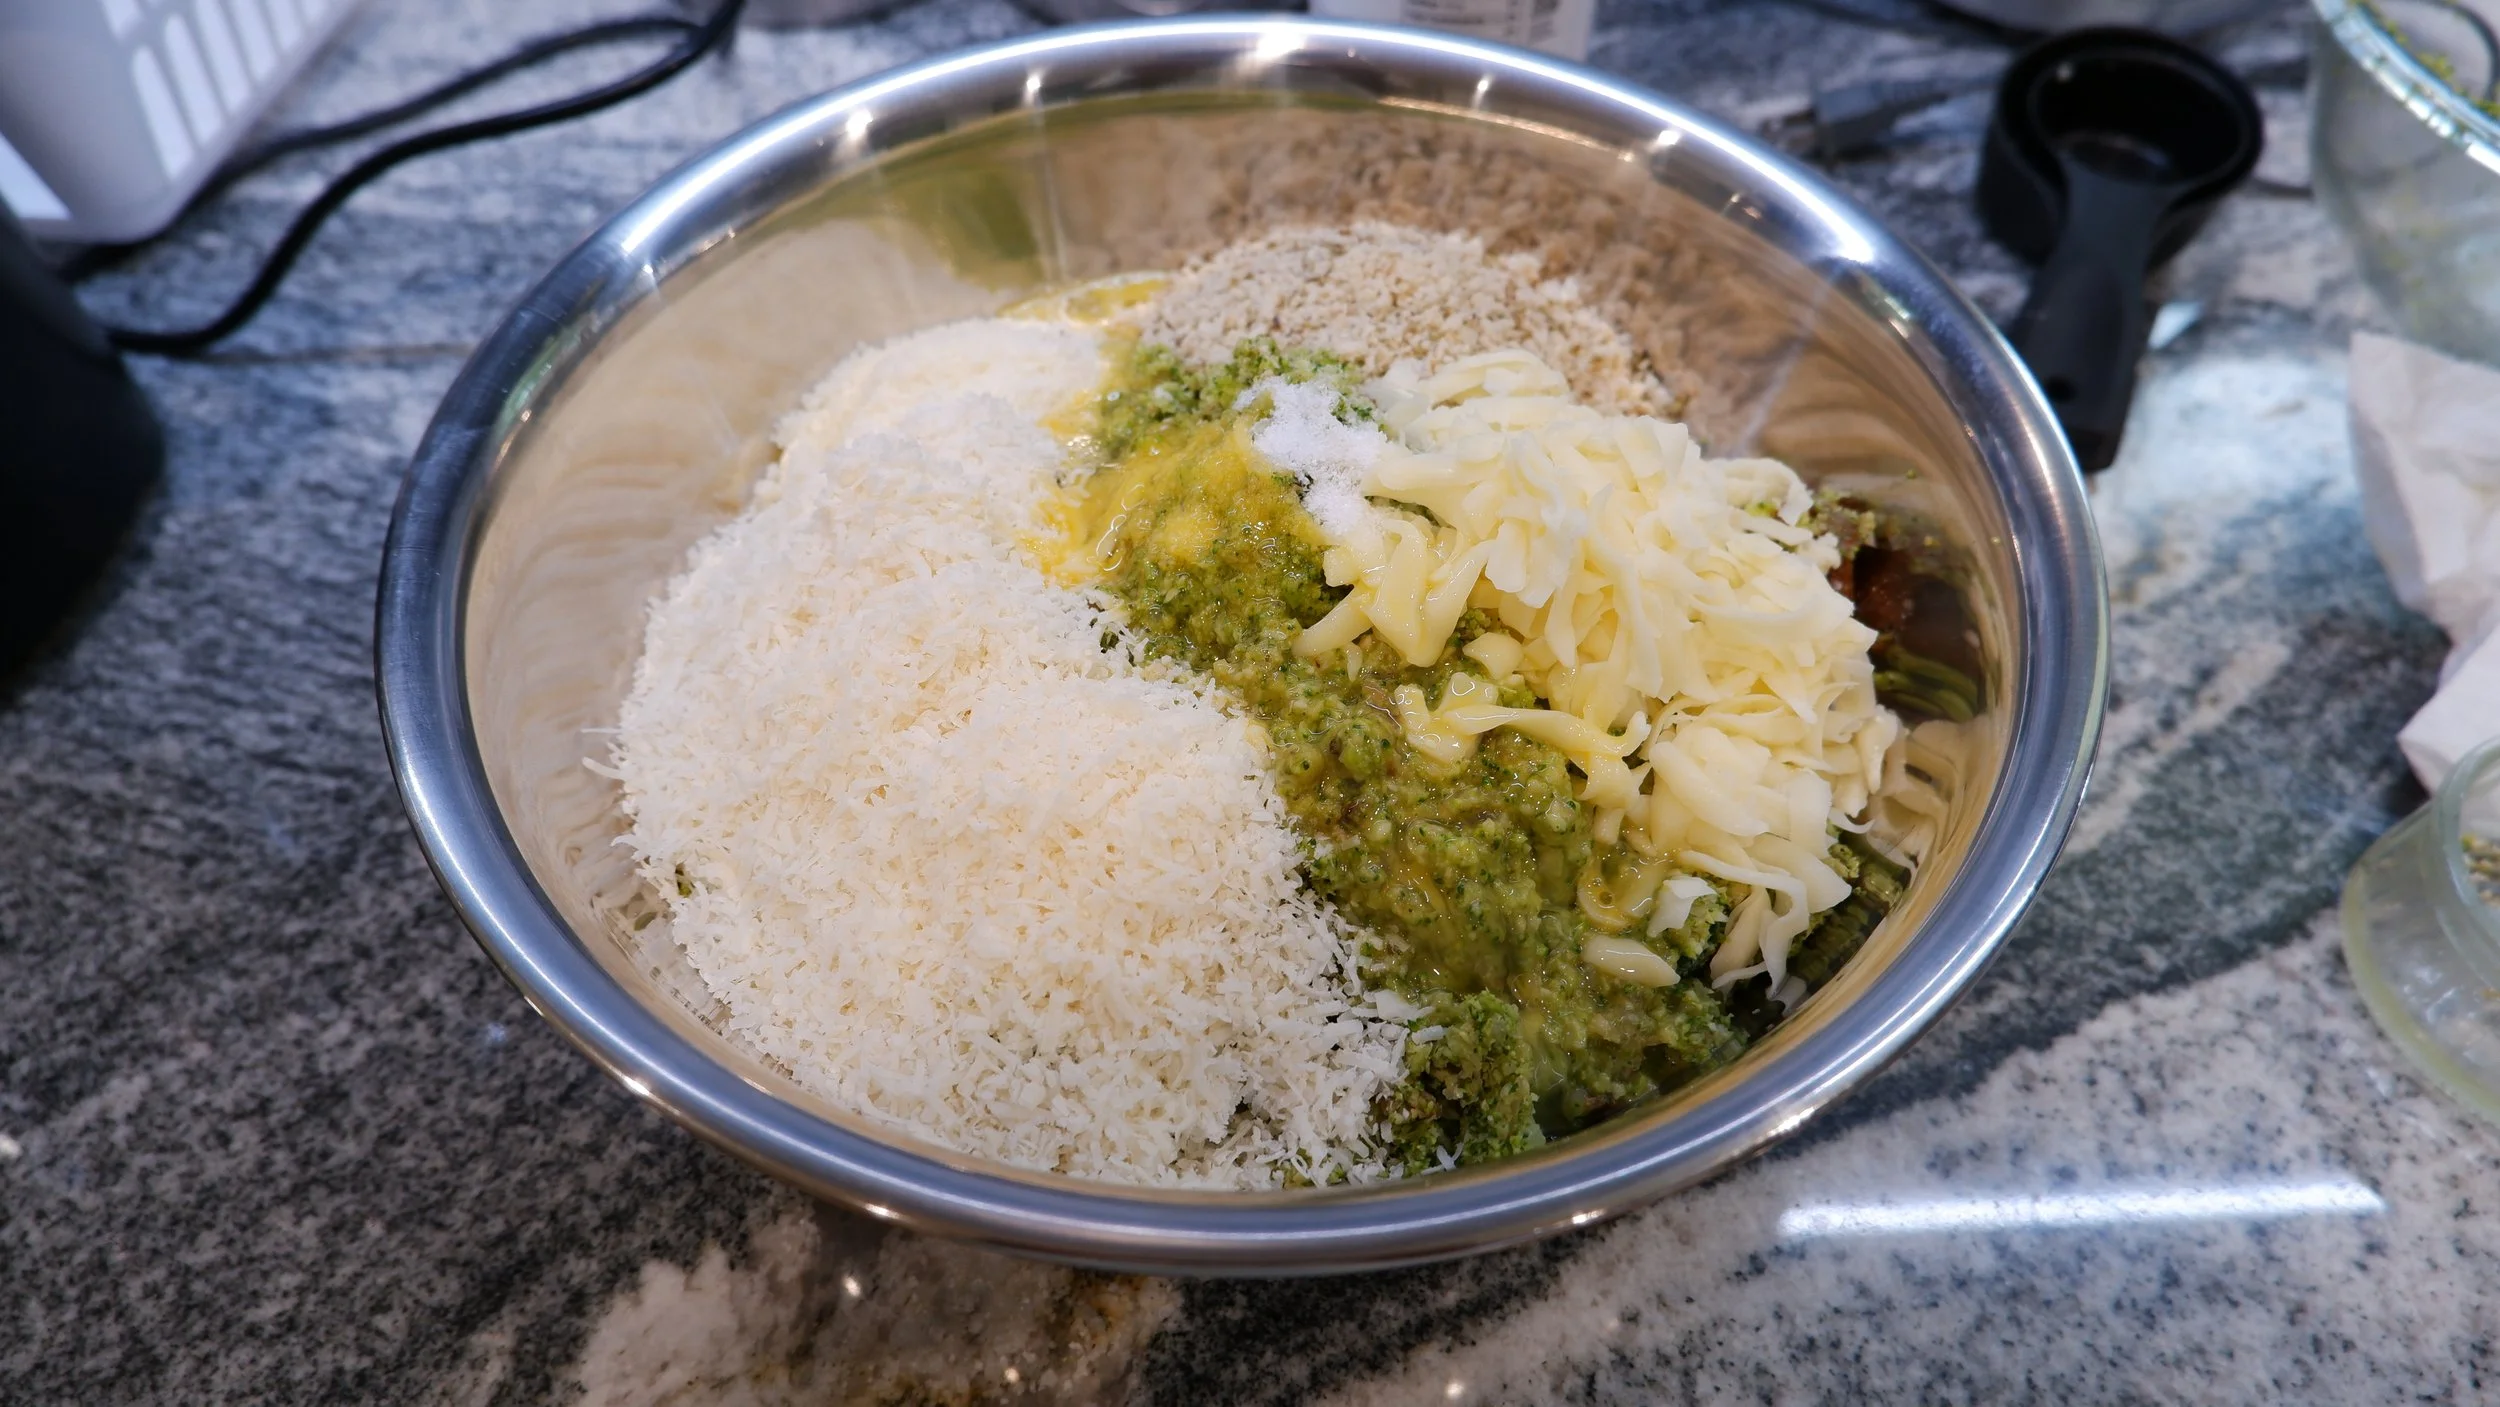
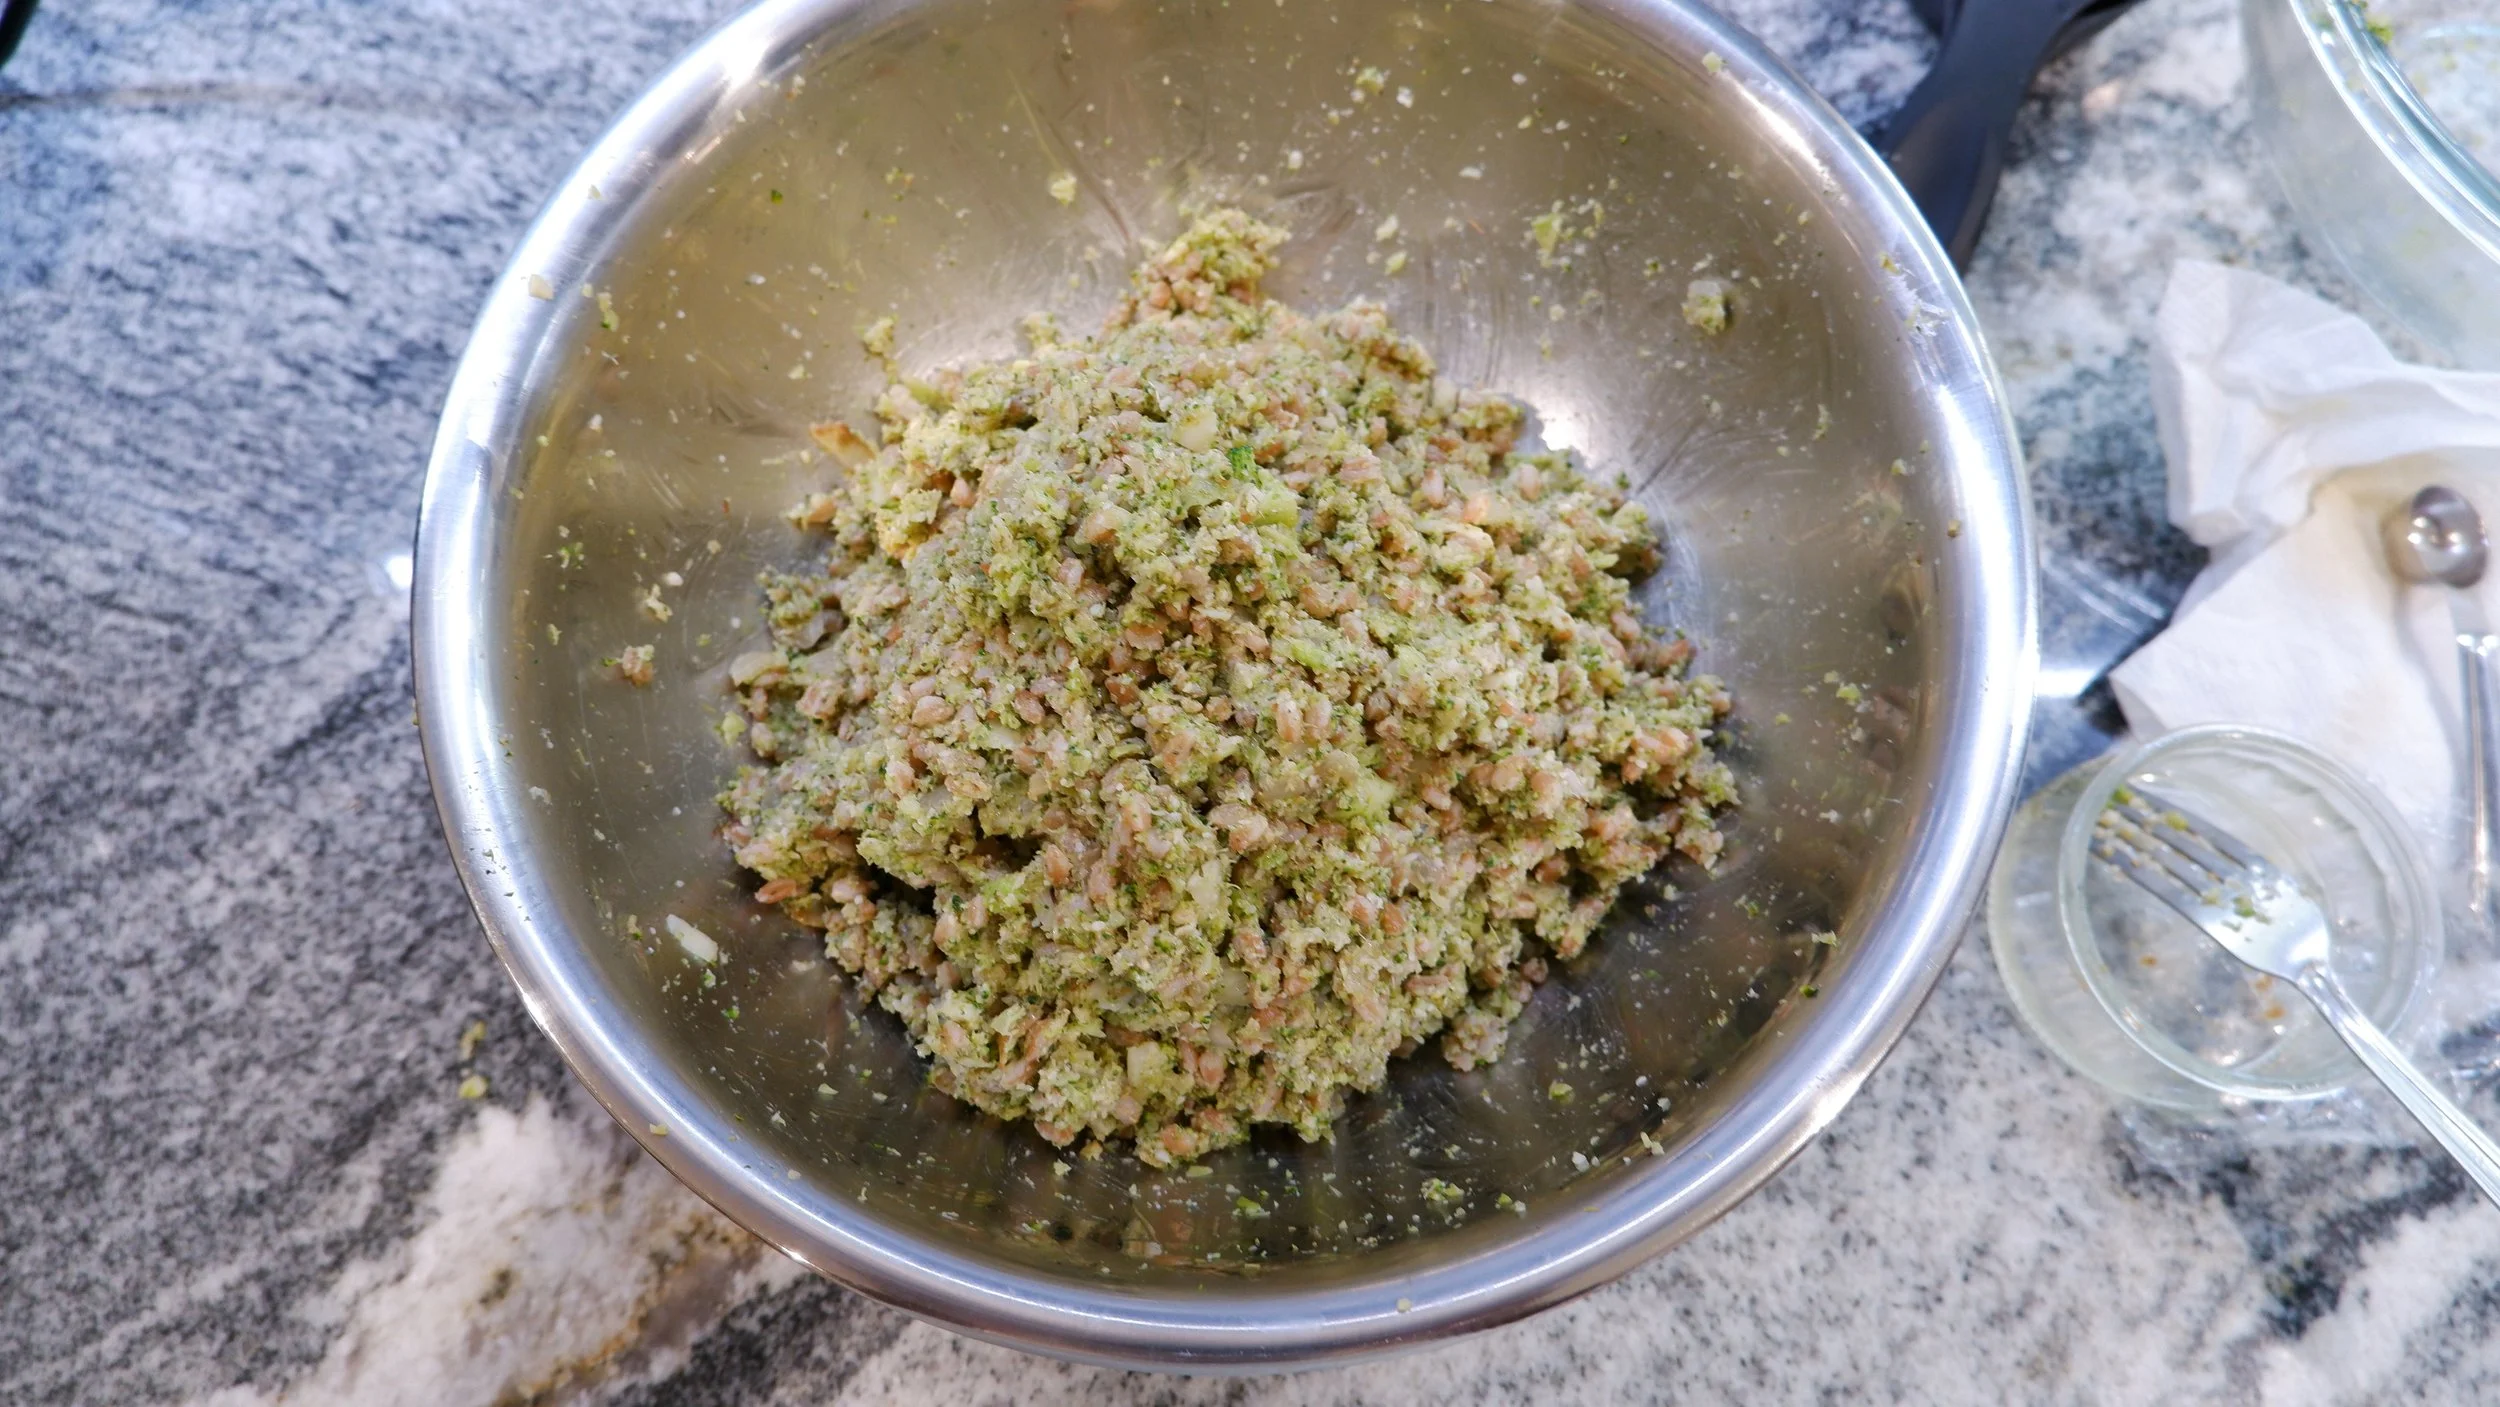
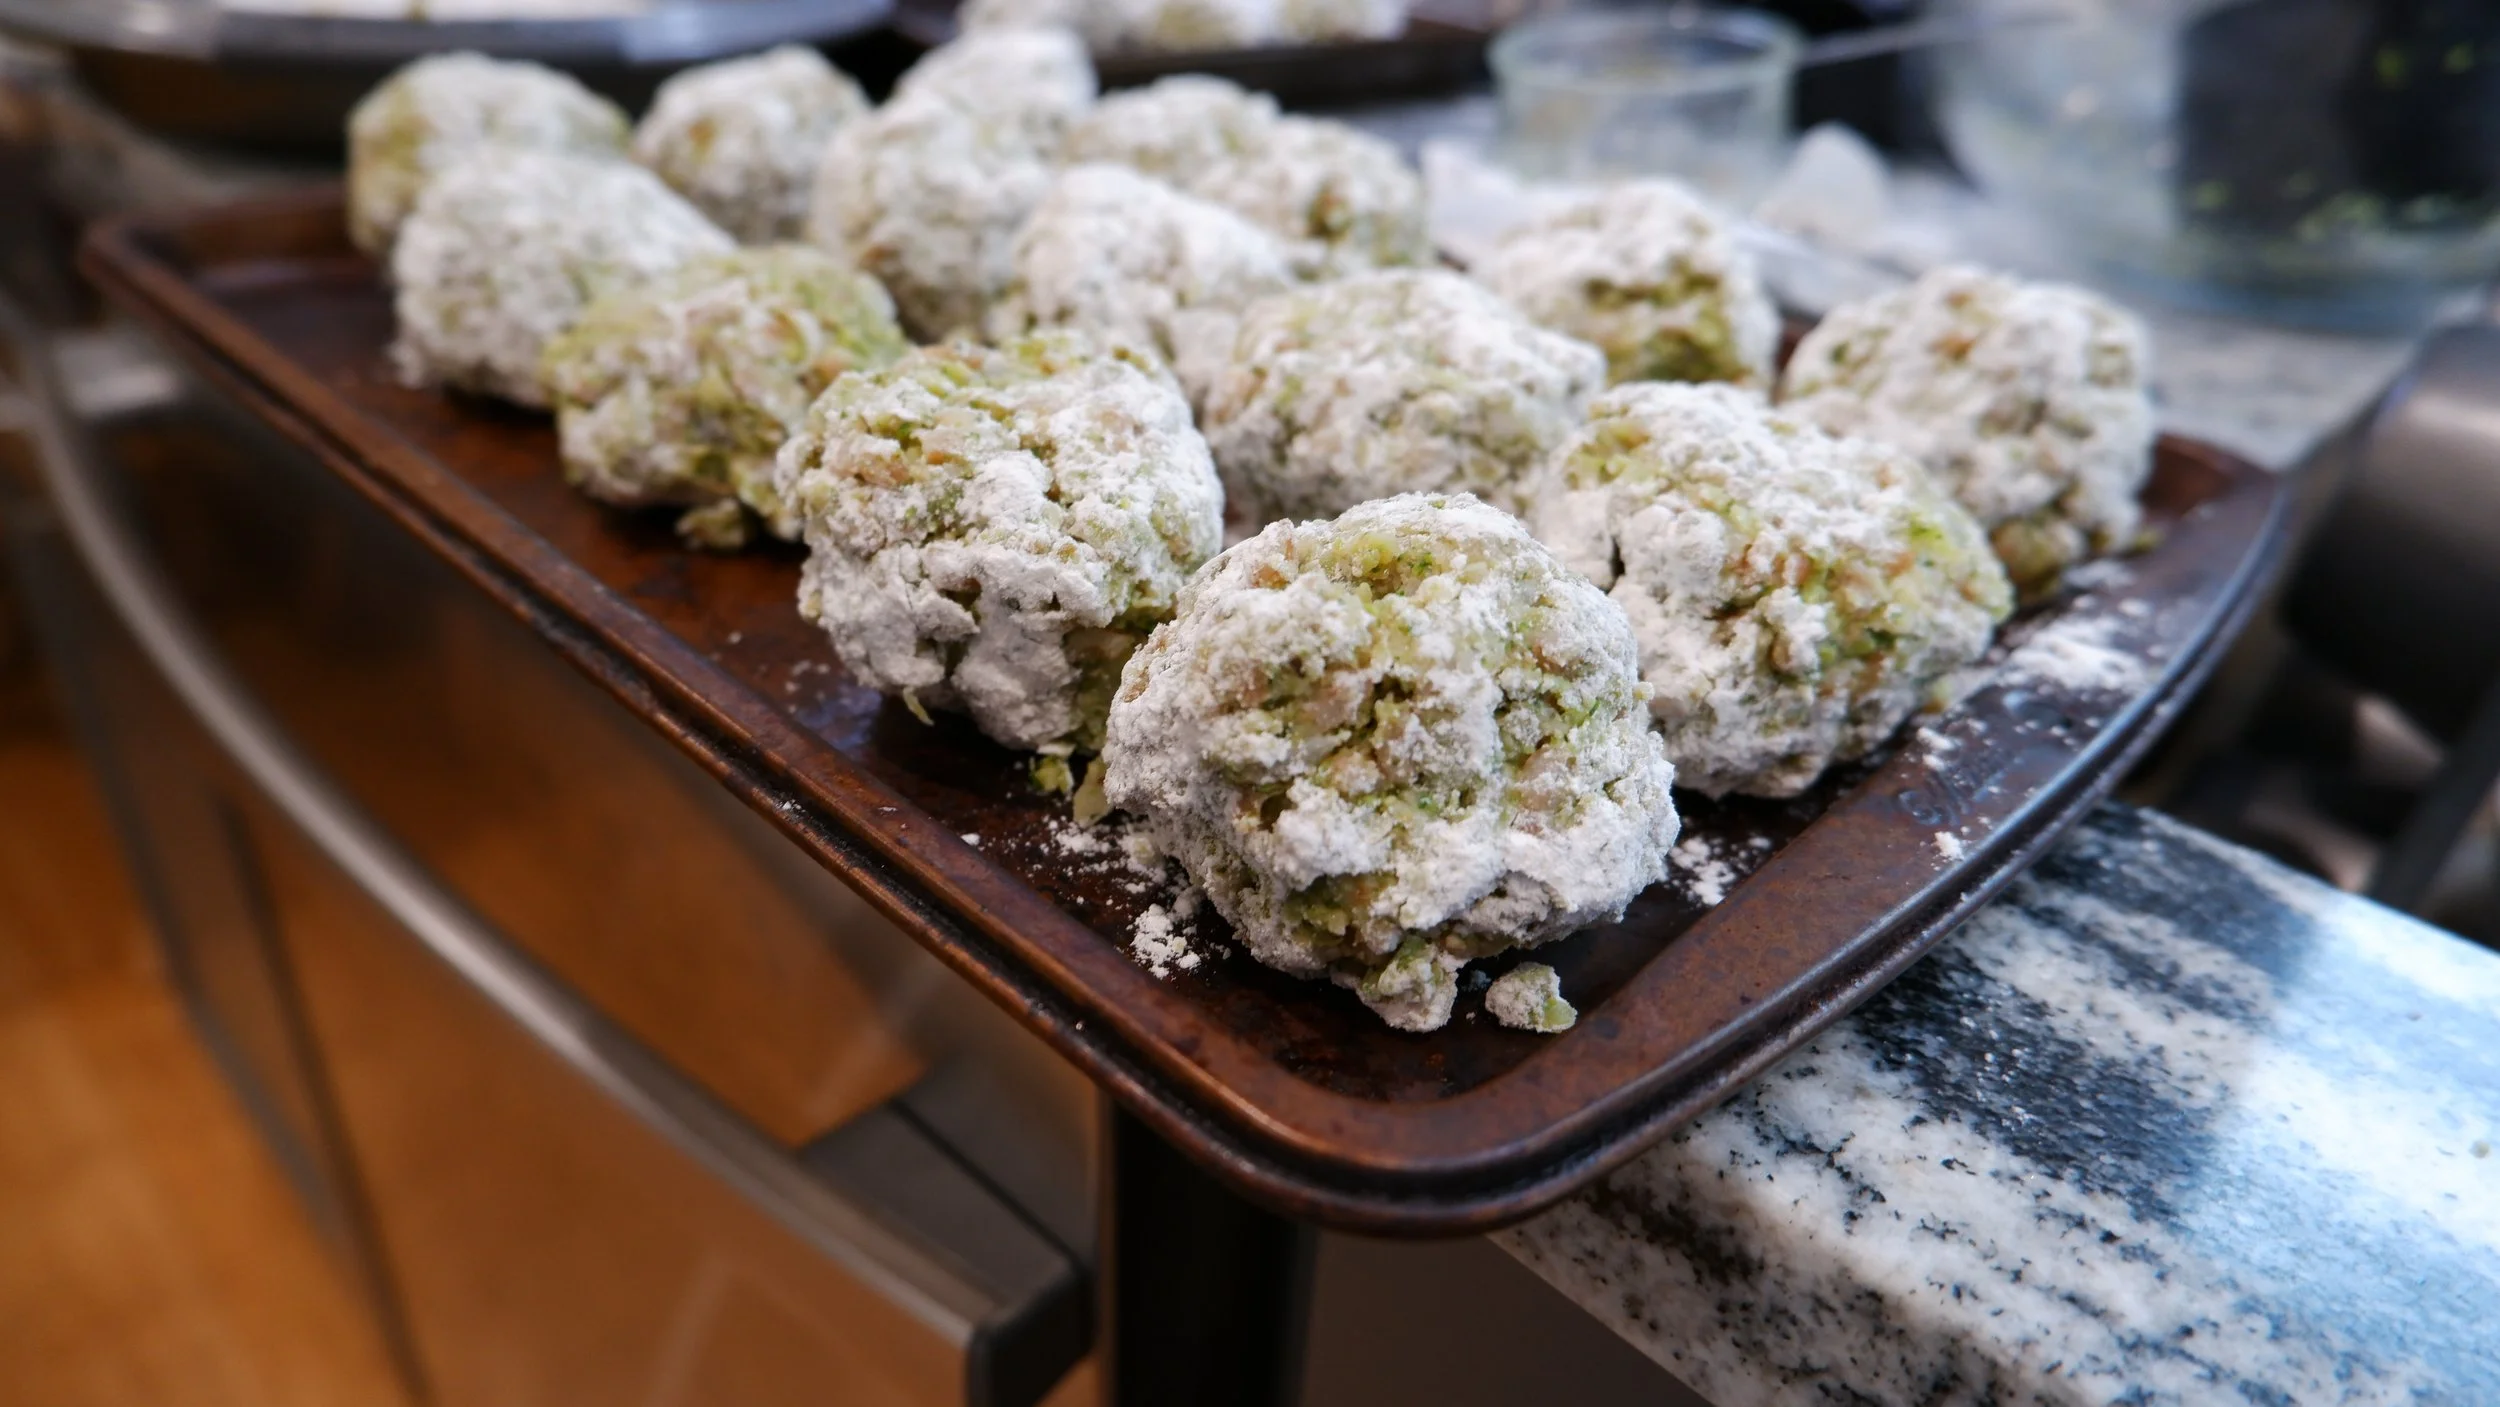
Mixing Farro and Broccoli: 14 minutes
At this point, all of the remaining ingredients, excluding the coating and frying ingredients, are mixed along with the farro and broccoli mixture. Once it was all mixed, I formed the mixture into balls which were then rolled in flour before being set on a baking sheet. I may have made mine a little too big, as I ended up with 20 instead of 30 balls at the end.
Frying: 10 minutes
After adding half a cup of oil to a pan and heating it, I added about half of the polpette to the pan. I had a hard time rotating each ball without them threatening to fall apart. While I was able to keep some in tact, a decent number of them fell apart in the pan. This may have been because I used the wrong type of bread crumbs or because I make the polpette too large. Maybe, it was something else entirely. My advice would be to make them smaller and if they still fall apart, just stay calm. Getting frustrated in the kitchen usually only makes things worse. I cooked each batch for about 4 minutes before transferring what I had to a paper towel lined baking sheet.
Analysis:
Despite many of the polpette not really looking like polpette, I have to say that the flavors present were very good. Nearly all the ingredients come through and work well together. I really enjoyed the cheesiness, which was mainly from the Mozzarella as far as the texture goes and the Pecorino and Parmigiano flavor wise. The flavors aren’t too strong, so seasoning with salt at the end, which I forgot, may be a good idea to amplify them. I didn’t find it necessary, as I enjoyed the lighter, more delicate flavors. Overall, the flavors are well balanced. On the texture front, this dish also turned out very good. I like the variety the farro provides against the softer broccoli and cheese. I think if I were able to get a nice crispy crust on these, the texture rating would be perfect. All together, I’m giving this recipe an 8/10. Clearly, they didn’t turn out perfectly, but even with the problems I had, they deliver on every front that matters. If I were to try it again and was able to get them to stay together with a nice crust, then they would be perfect. I can definitely see others running into a similar problem with theirs, so don’t be surprised if they don’t hold together well.