Buffalo Chicken Mac & Cheese

The Blue Cheese is a little off putting visually
This is a recipe I made and loved over 5 years ago
Ingredient Availability: 5/5
Difficulty: 2/5
Time: 2 Hours
Me and this recipe go pretty far back. I don’t know the first time I made it, but it had to have been well over 5 years ago and it hasn’t left my bookmarks since. So, you can probably already get a feel for what I think about this recipe. Sometimes you want a dish that can last a whole week in the refrigerator and can work as an entree or a side. To me, a regular Mac & cheese gets boring pretty quickly, so adding the chicken along with some hot sauce and veggies really makes things more interesting.
Key Ingredients and Omissions:

I shredded the chicken the day before and stored it in the plastic bowl
The only thing I left out of this dish was the parsley in the topping. I know you might be wondering how or why I would pick this dish considering how often I omit spicy ingredients as I don’t typically get along with spicy foods. However, given how long ago I discovered this recipe, I know that how I made it the spice wasn’t a problem.
You don’t have to buy a rotisserie chicken, you can always just use whatever chicken you have and shred it up. Interestingly, the chicken I got was supposedly lemon pepper flavor, but I had a hard time detecting it when tasting the final product .
The recipe recommends Frank’s hot sauce, which has different spice levels. I went with buffalo, which I think is the lowest level. This sauce has plenty of flavor, without being very spicy at all. If you’re like me, this would be the route to go. If you prefer more spice, feel free to use a spicier sauce.
Instead of buying half and half, I just made some myself. Half and half is just heavy cream and whole milk, so I used some left over heavy cream I already had and got a small bottle of milk, which is more commonly used than heavy cream or half and half.
When shopping, it might be tempting to splurge on the more expensive cheeses. I’ve made this recipe a few times with different brands and prices of cheese and while I didn’t taste them side by side, I don’t think you gain much by using a pricier cheese in this dish.
Tools:
I recommend a Grater (I used a food processor)
Cooking Review:
Preparation: 25 Minutes
The prep for this recipe was nothing major. I cut up the celery, onion, and garlic and used a food processor to shred the cheeses. The recipe says to cut the cheese into cubes, but in the past I learned that it took a long time for the cheese to melt like that. I recommend shredding it with a box grater or if you have one, use a food processor with a shredding plate. The time for this step doesn’t not include the time it took for me to shred the chicken. I forgot to time this step, as I did it the same day that I bought the chicken.


Chicken Mixture: 15 minutes
Making the chicken mixture is pretty simple. I cooked the onion and celery in some melted butter for 4 minutes before adding in the chicken, garlic, and hot sauce to cook for another 3 minutes. The mixture will thicken up slightly, but not too much. It shouldn’t look dry when you’re done with it.

The hot sauce you use is up to you
Cheese Sauce: 13 Minutes
This sauce if basically a béchamel sauce, so you can use these steps to make almost any cheese sauce you want. I whisked in some flour to an equal amount of melted butter then added the home made half and half along with some more hot sauce. Once that had reduced for about 7 minute, I added the cheese until it was all melted. The sauce did look a little grainy, but that could just be from the cheese, as before the cheese was added, the sauce looked very smooth.

Assembly, Baking, and resting :12 minutes, 36 minutes, 10 minutes
The assembly was straight forward. The amount of sauce this recipe makes is pretty much perfect for a 13x9” baking dish. With all the sauce being used, I was worried that it may over flow when baking, so I put the dish on a larger sheet pan just in case. This didn’t turn out to be an issue. Once everything was layered into the dish, I made the panko and blue cheese topping, sprinkled it on and baked the whole thing for 36 minutes. I let it rest for 10 minutes before tasting it.


Analysis:
This tasted just as I remembered. It is very flavorful and well seasoned, even though the salt in this recipe is only used to season the pasta water. There was essentially no spice, allowing for the flavors to do most of the talking, which is how I prefer it. The blend of cheeses is very nice, not being too cheesy, but also having an interesting balance of sharpness and an tanginess. I think the sour cream really helps to round out the flavors in the sauce. As I mentioned earlier, the price of your cheeses shouldn’t make much of a difference in the overall flavors here, so don’t go overboard. I will say that you definitely don’t want the pre-shredded stuff which may have a hard time melting. The textures in this recipe are also nice. The occasional crunch from the celery and the topping is a welcome touch to a dish that would otherwise just be pasta and chicken. Even then, the pasta didn’t become mushy and the chicken did add a little change of pace. That’s one thing I will knock this recipe for. I wish it did have more chicken, but at the same time, it might not be able to take much more and still fit in a 13x9” baking dish. Lastly, the blue cheese hits here and there are very pleasant, giving yet another cheese flavor and texture. With that being said, this recipe gets a 9/10. If it recommended grating the cheese instead of cubing it and found a way to get a little more chicken into it, then it just might be perfect.
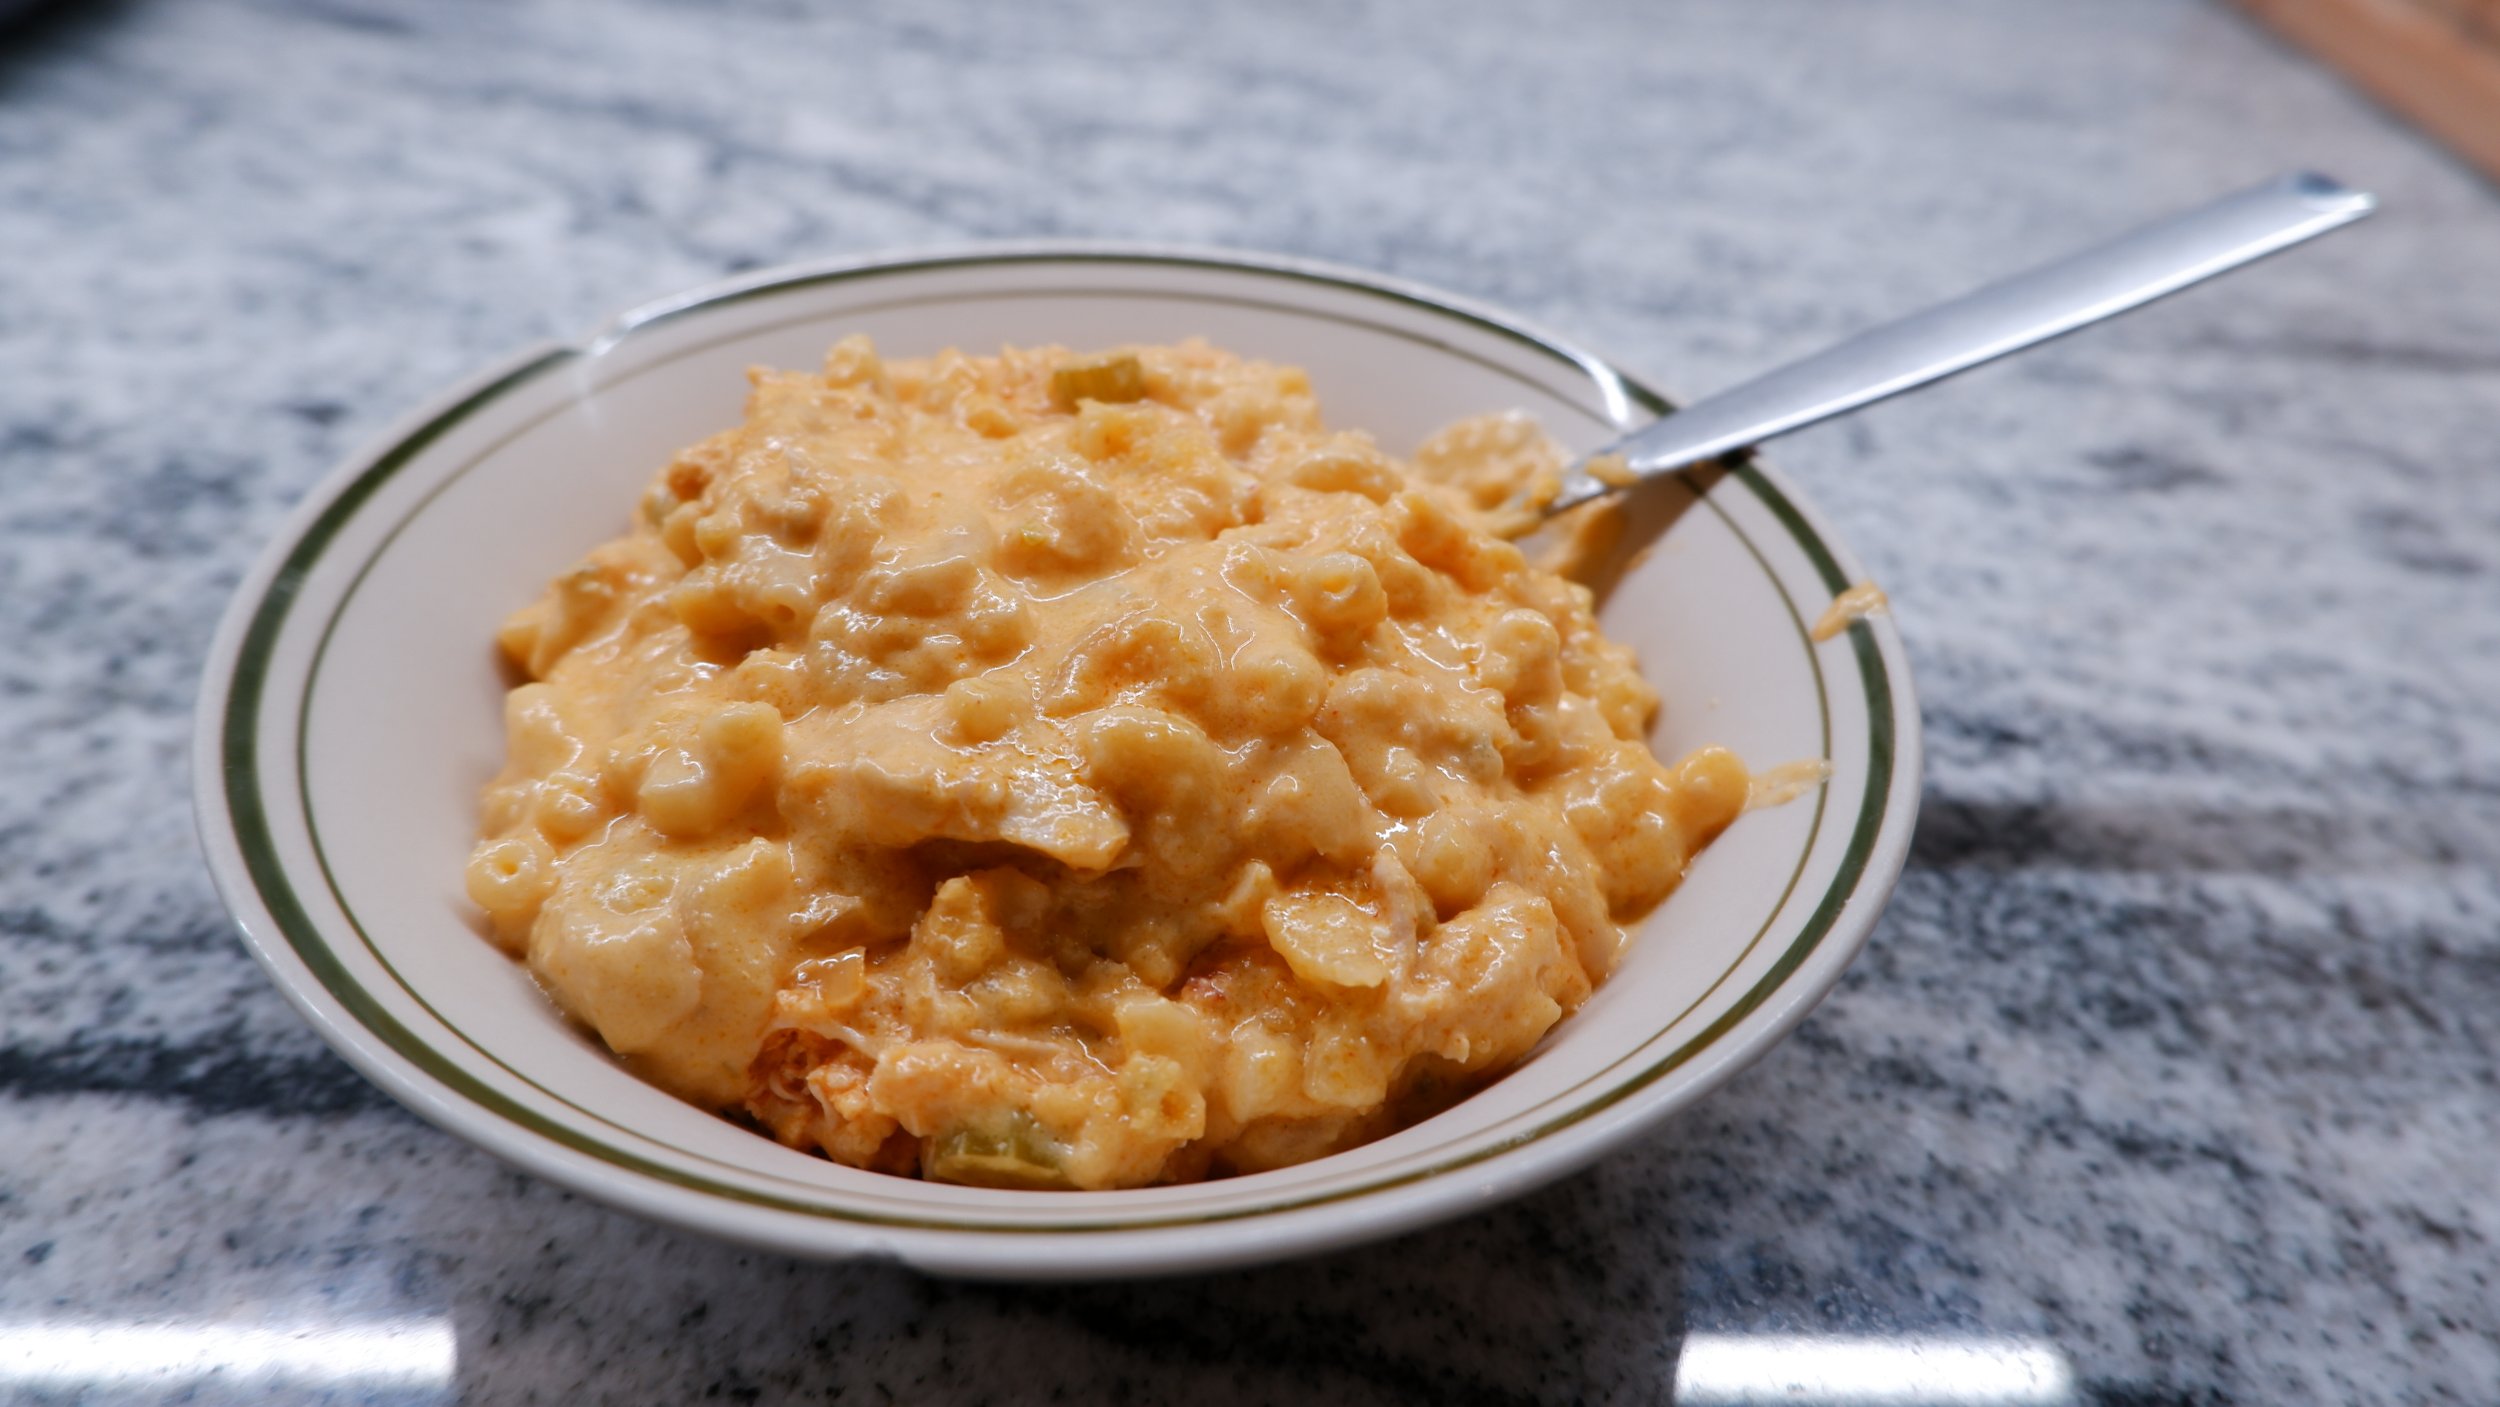
The sauce is a little loose right out of the oven.